




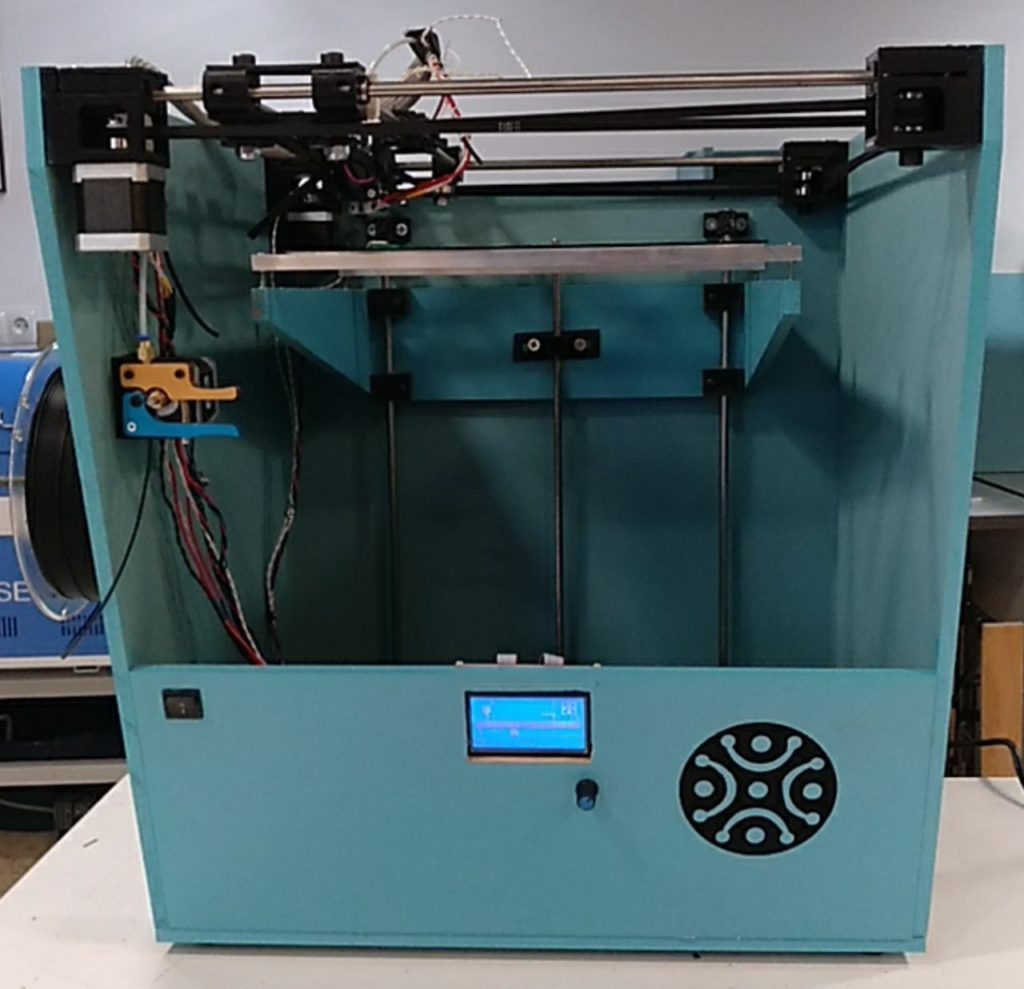
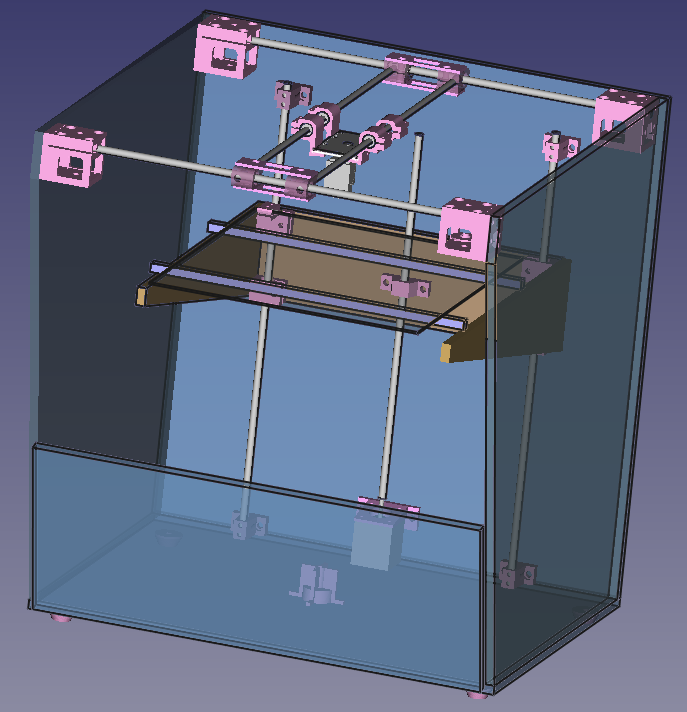
250mm³ 3D printer, designed and made at FabLabSantander®, coreXY. Try to be as cheap as possible. You can download 3D design (FreeCad) and OBJ files to 3D print here.
License: CC-BY-SA :
BY: Licensees may copy, distribute, display and perform the work and make derivative works and remixes based on it only if they give the author or licensor the credits (attribution) in the manner specified by these.
SA: Licensees may distribute derivative works only under a license identical («not more restrictive») to the license that governs the original work. (See also copyleft.) Without share-alike, derivative works might be sublicensed with compatible but more restrictive license clauses, e.g. CC BY to CC BY-NC.)
Building CorocottaV2
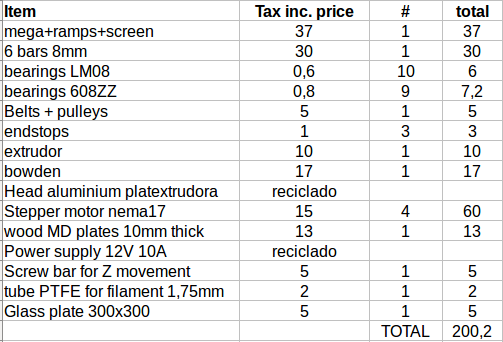
Bill of Materials
Wood (Medium Density 10mm) assembly:
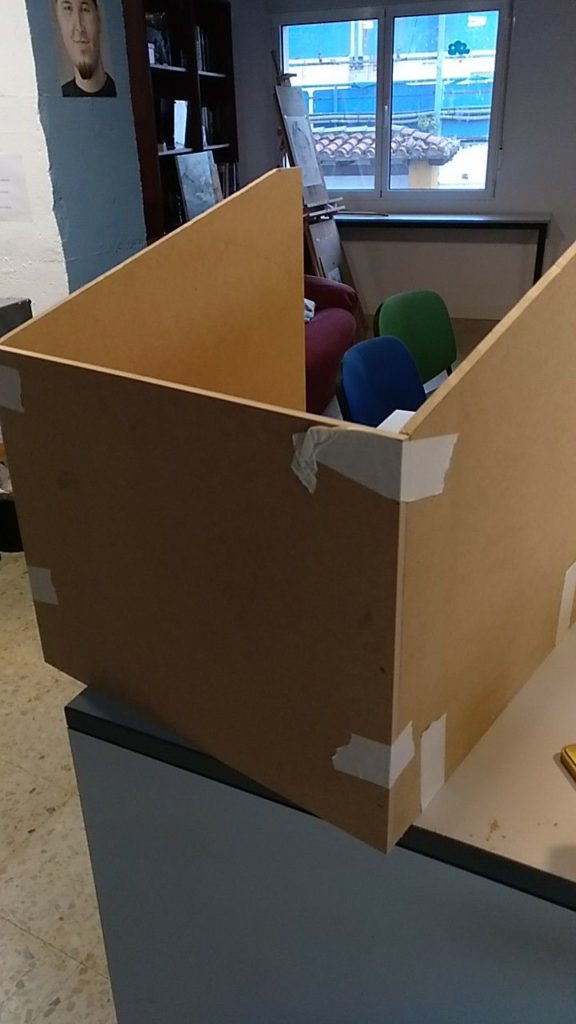
Prepare the assembly with tape 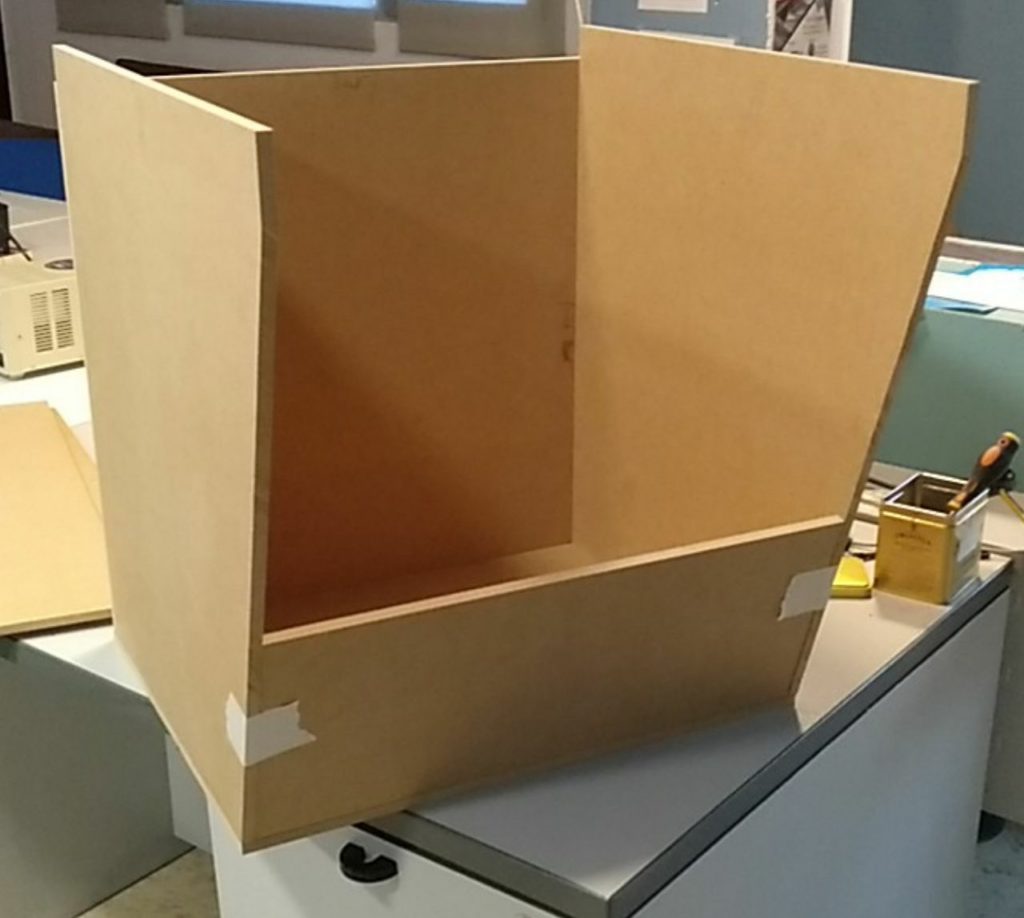
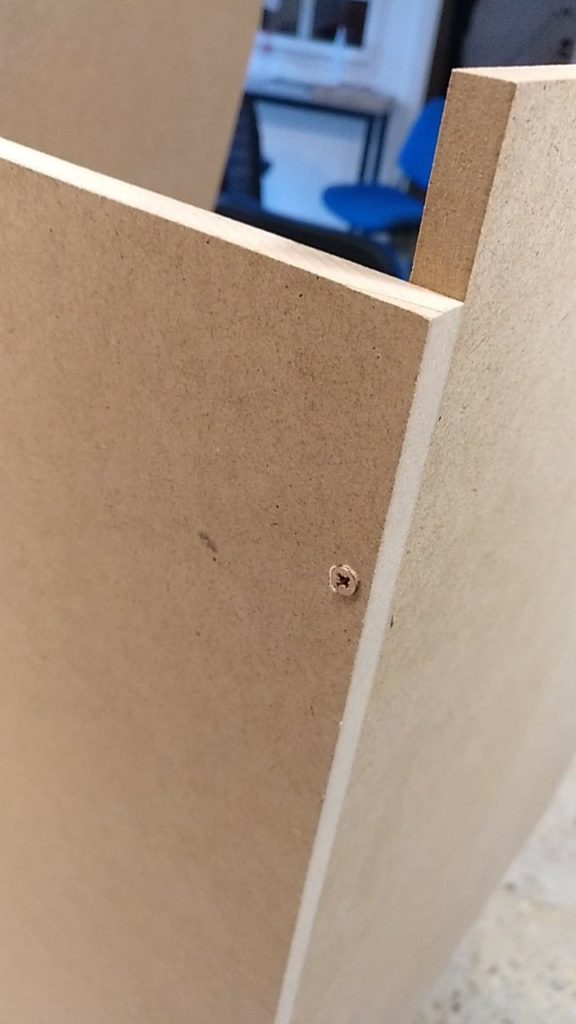
We use 3mm wood screws. Drill 2mm and 3mm holes before !
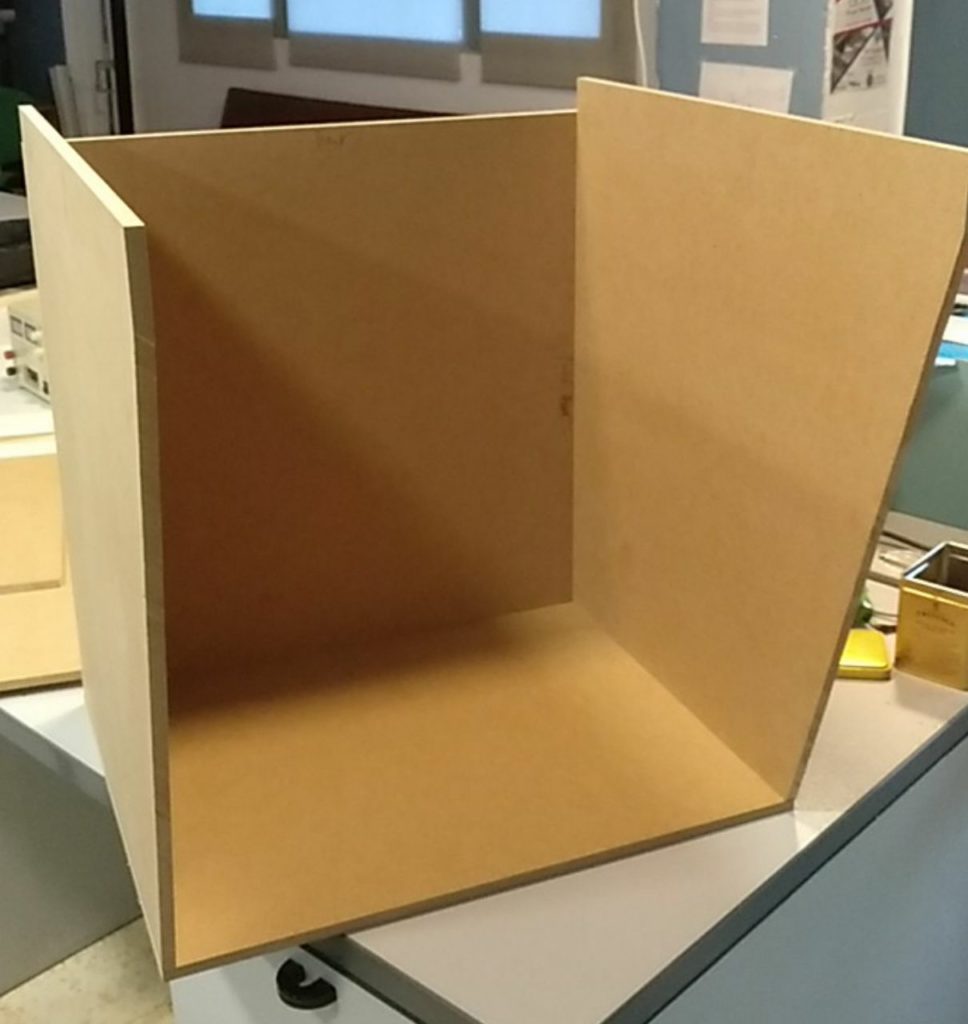
The wooden plates screwed:
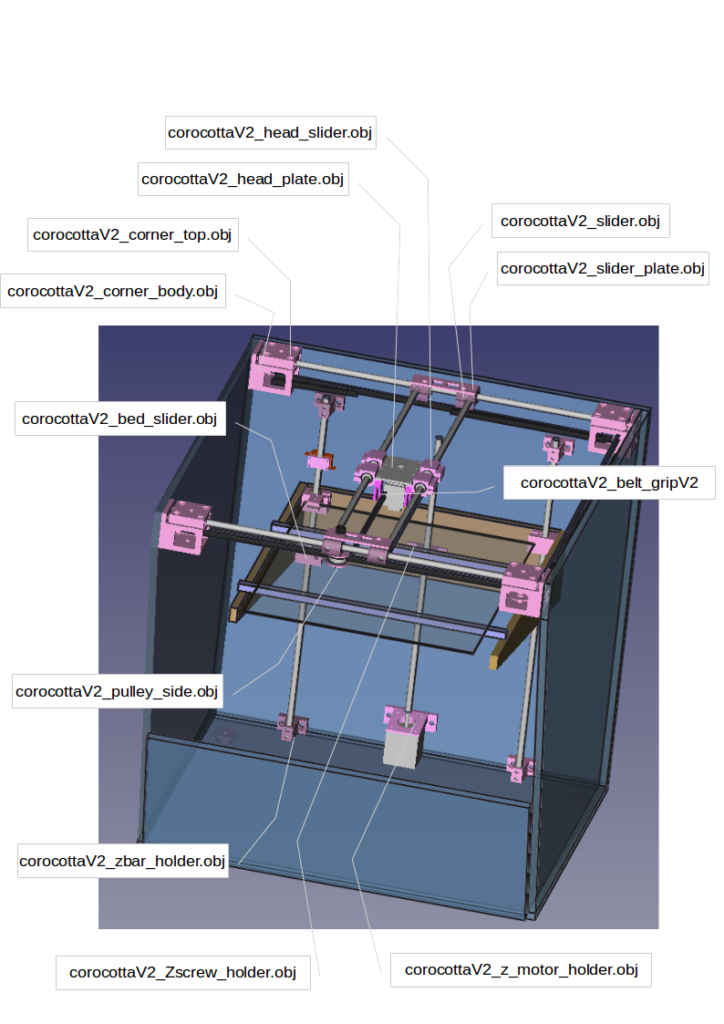
Mounting the corners (for motor and pulley holders)
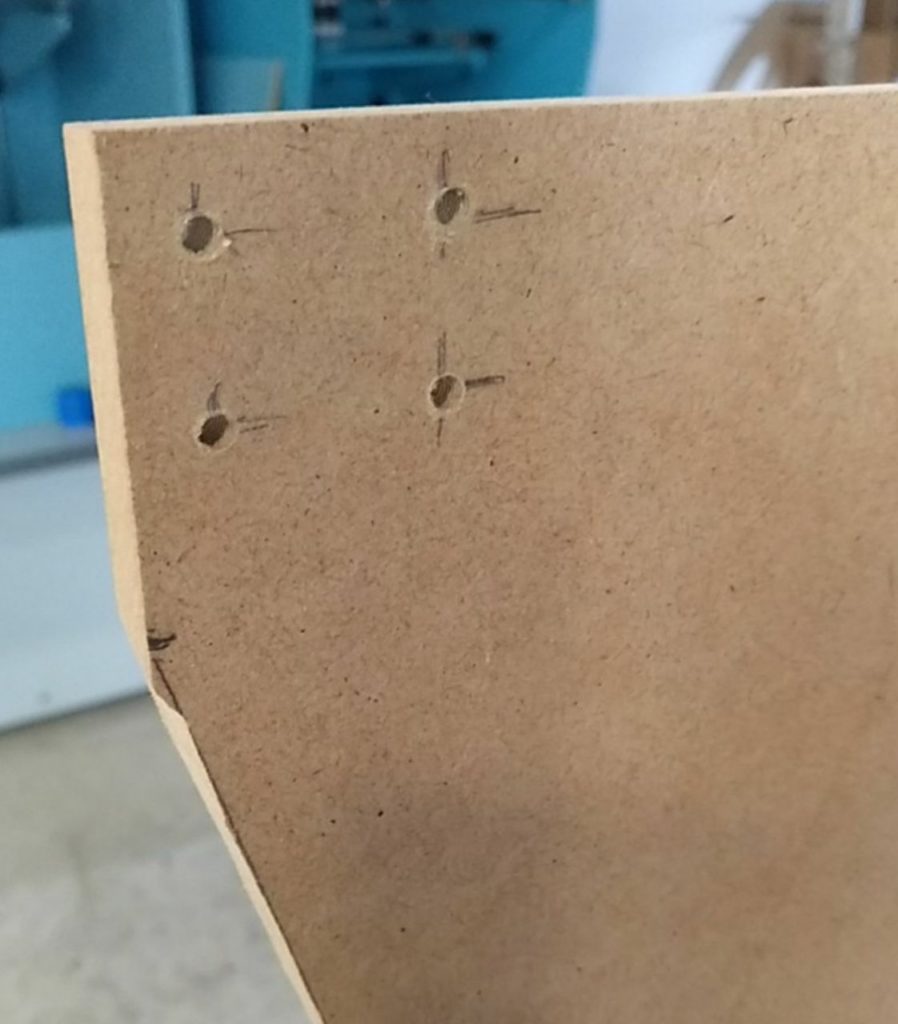
Drill 4mm holes and tap to M5, to hold the corner: 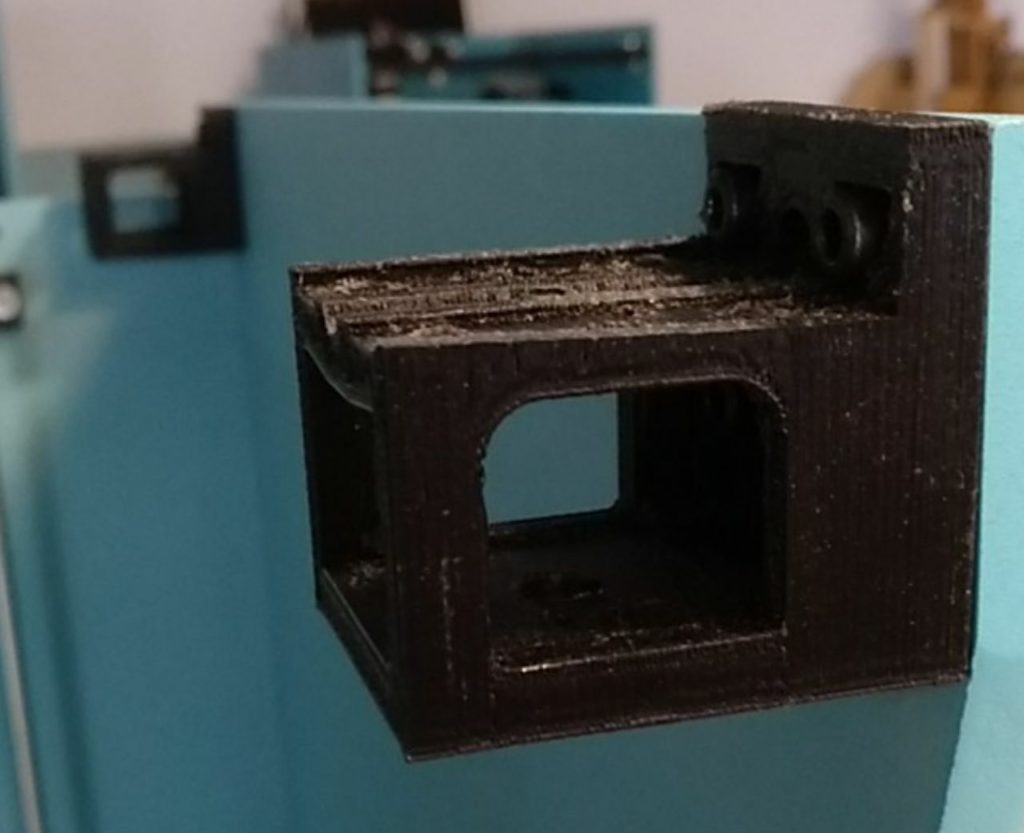
mount the corner 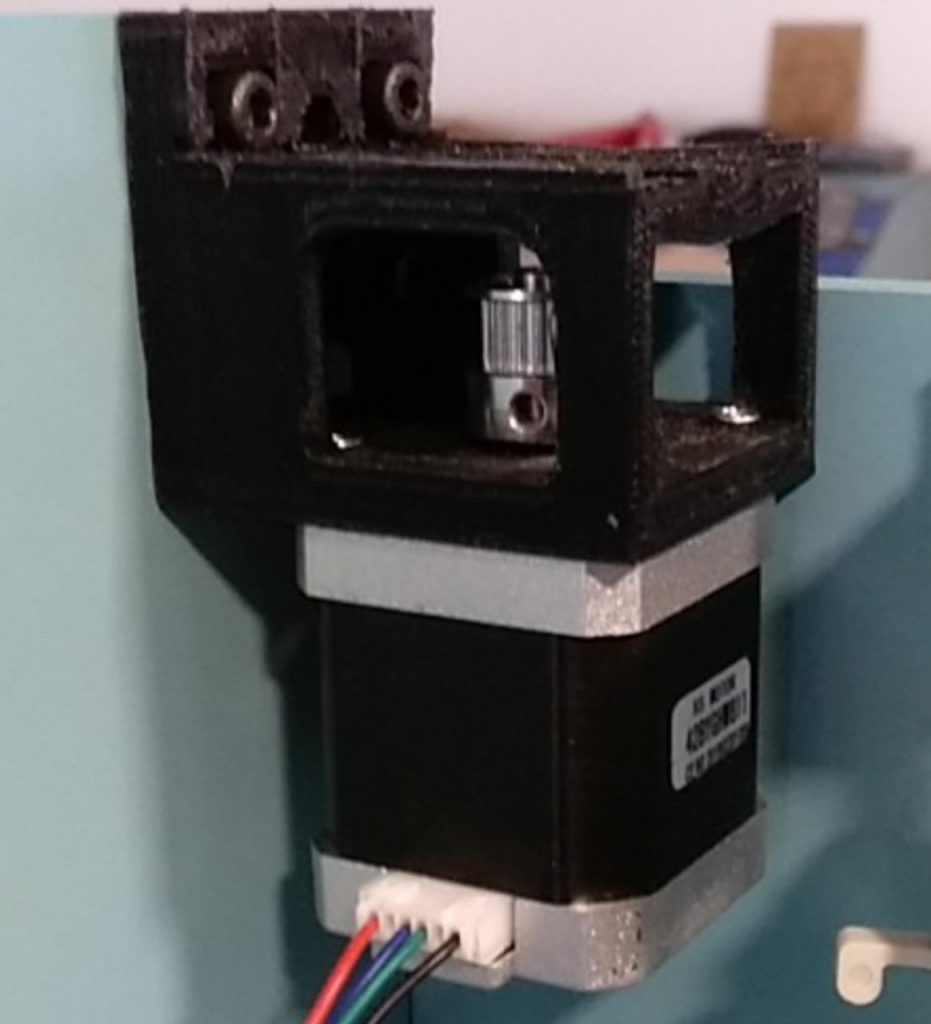
mount the corner
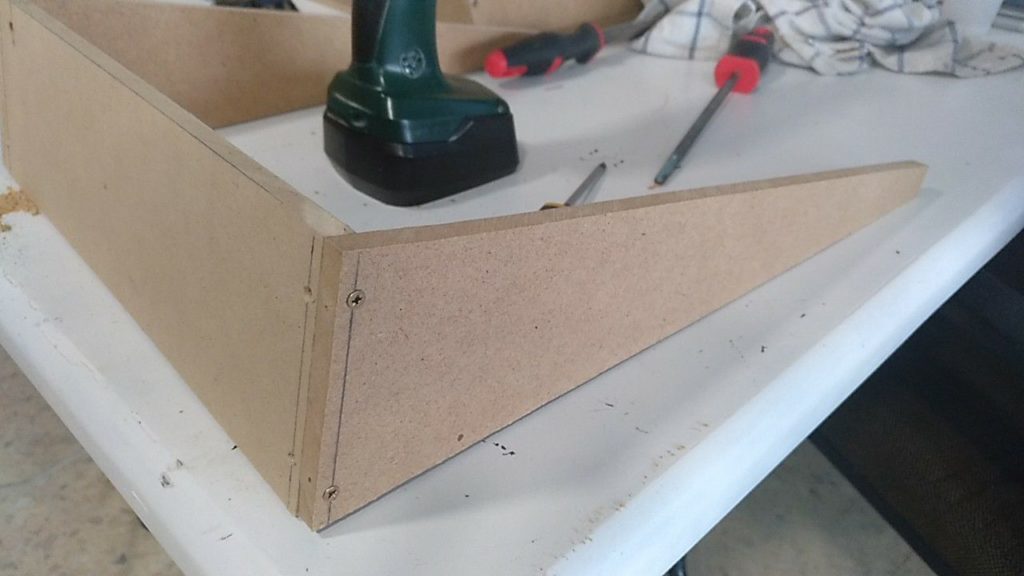
Just like the big box, drill 2mm and 3mm holes to fix the 3 plates in a square:
Building the vertical guides and bed support
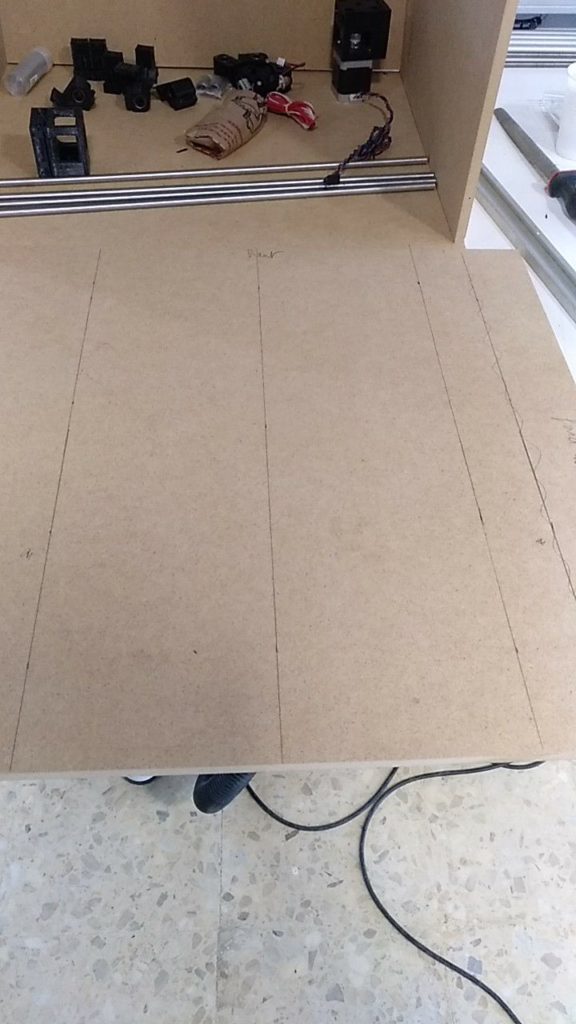
Carefully trace the vertical lines at 150mm for symmetry axis
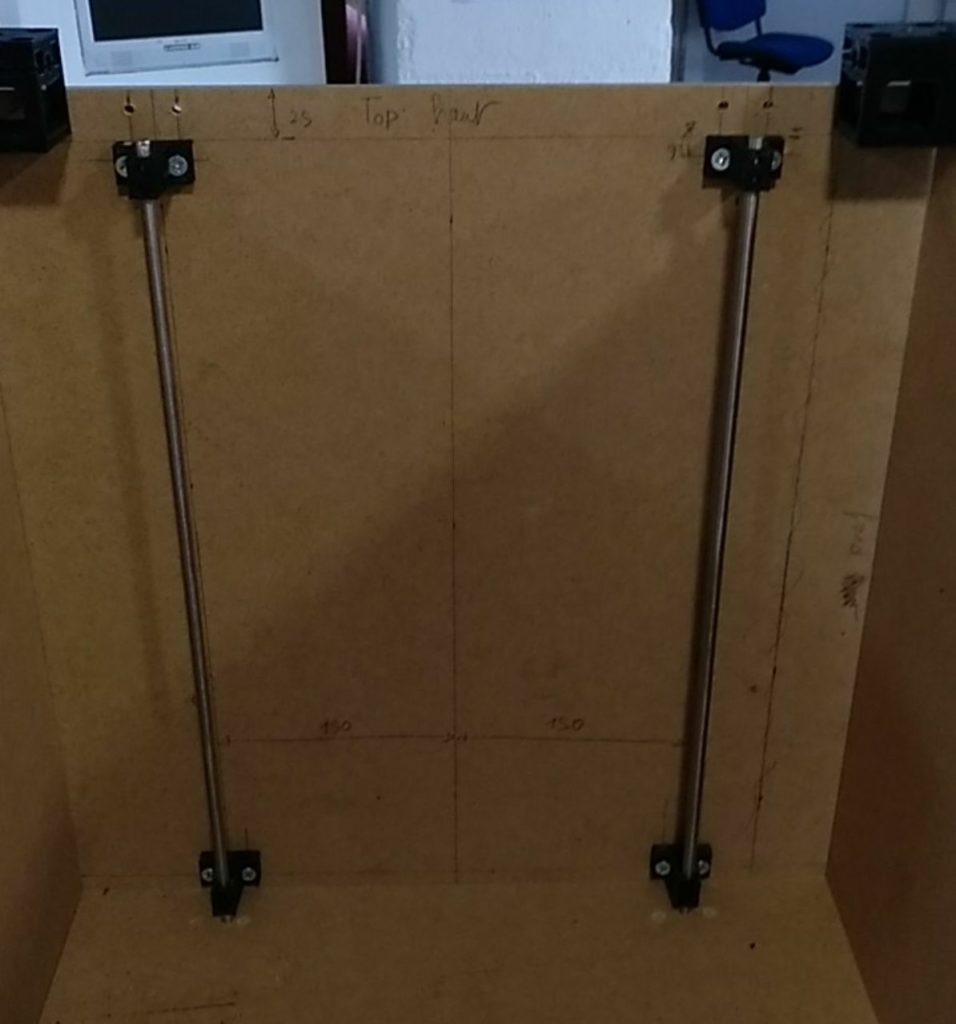
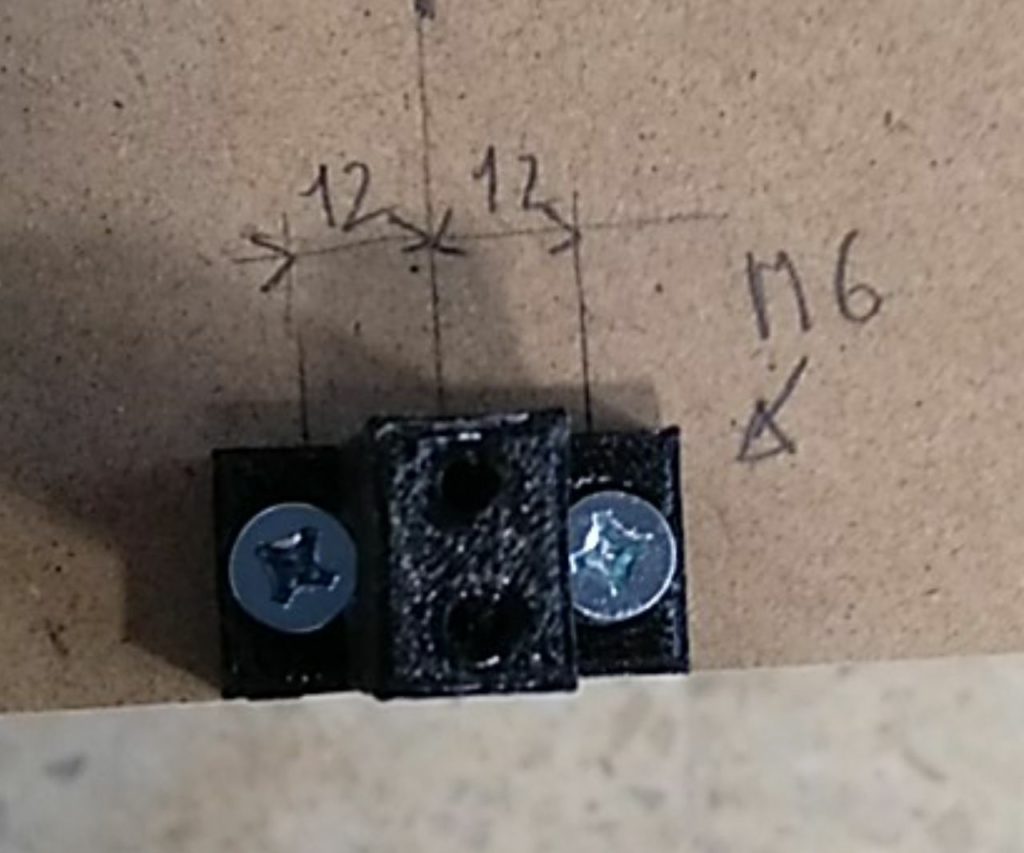
Use M6 screws (drill 5mm diameter holes before). And tap with M6 the 2 top holes.
Mounting the bed guides
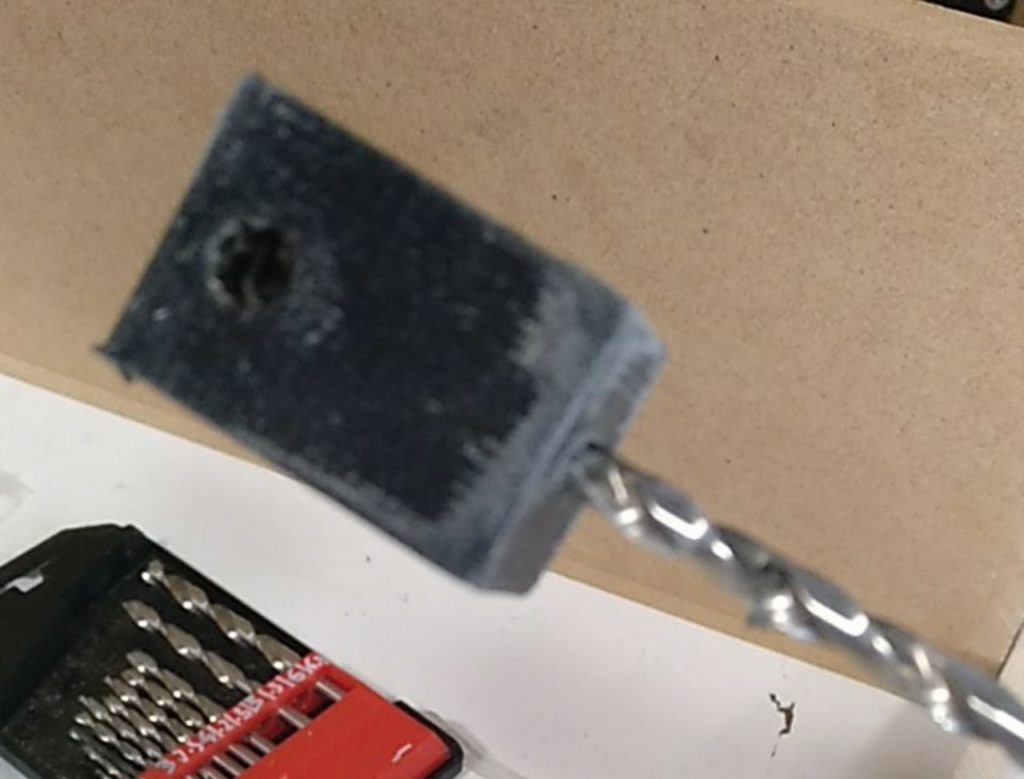
Refresh the 5mm hole
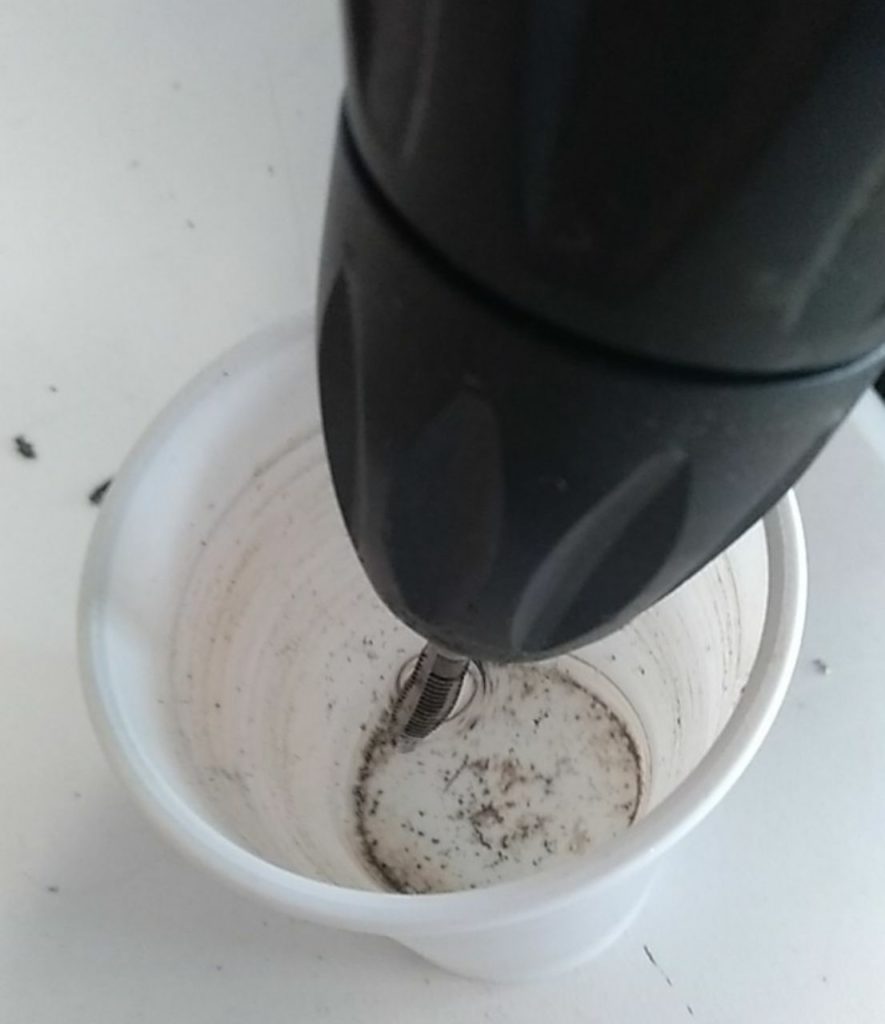
Trick: wet the tap before!
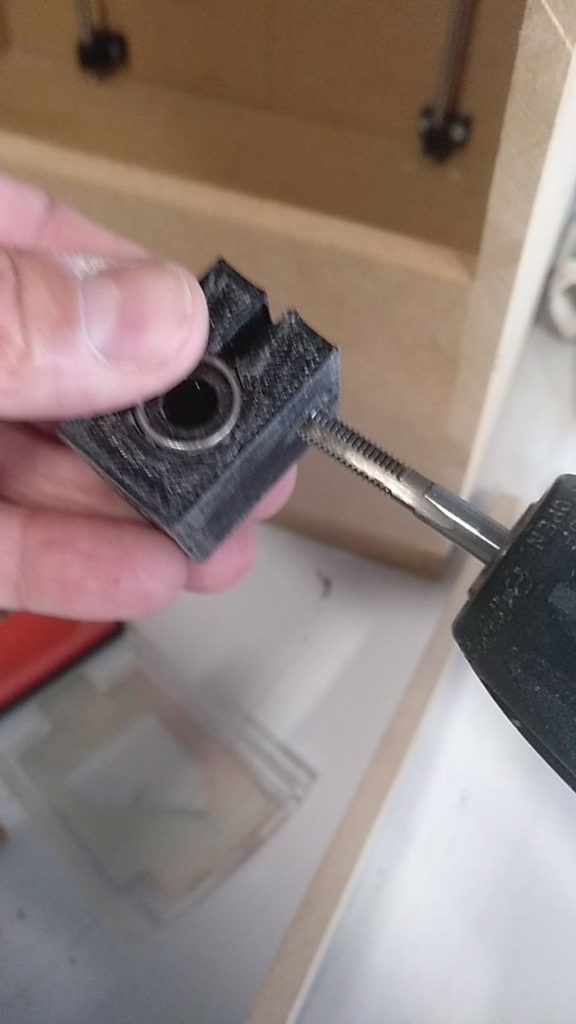
Tap M6 thread
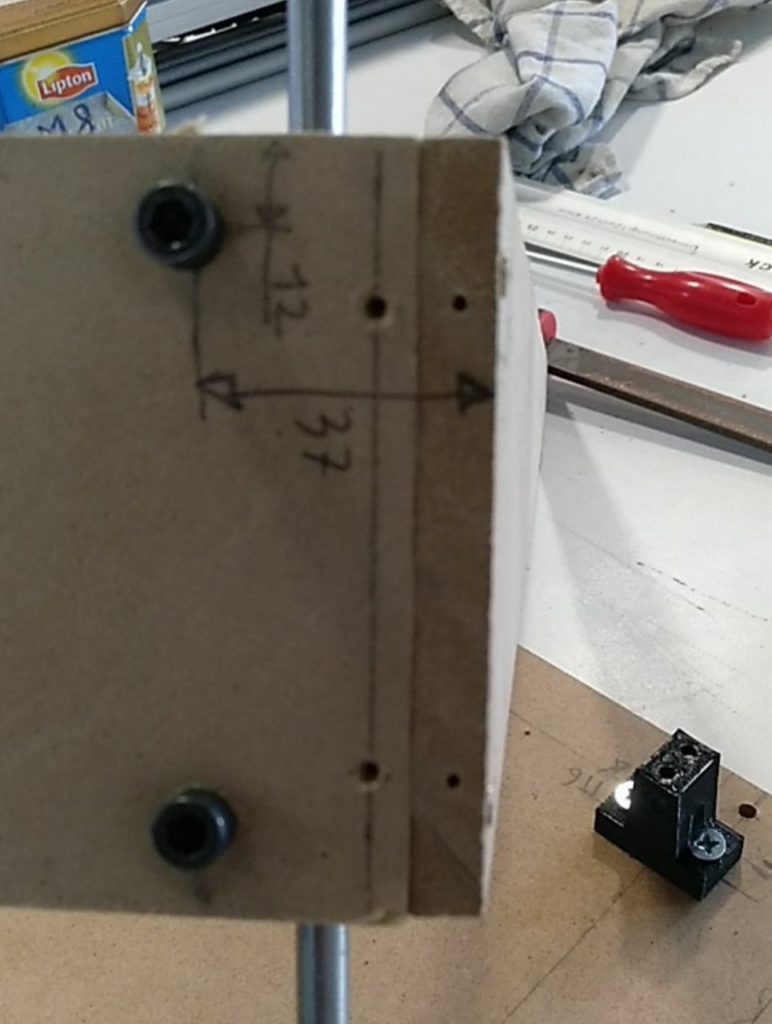
A M6 screw hold the slider
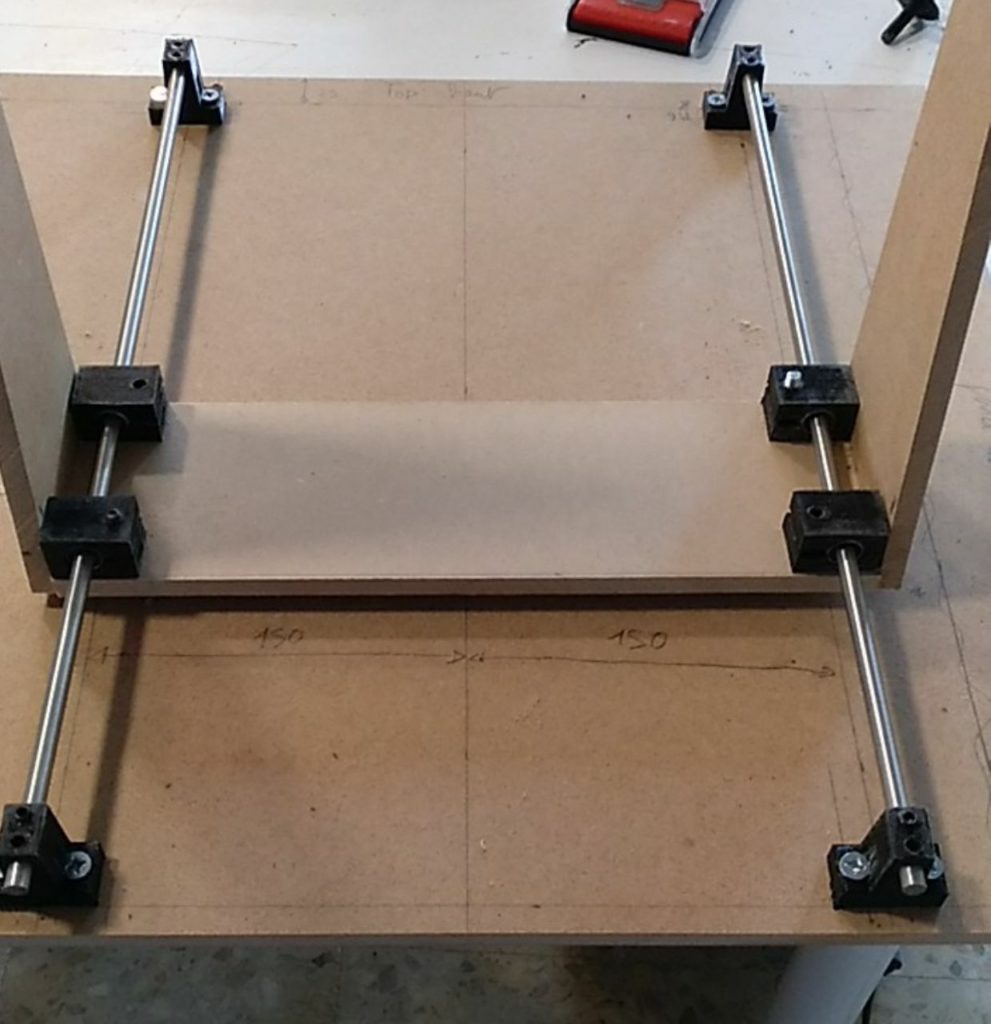
Mount bed holder. You may have to unscrew rescrew to get the system find its place.
Mount the Z nut holder
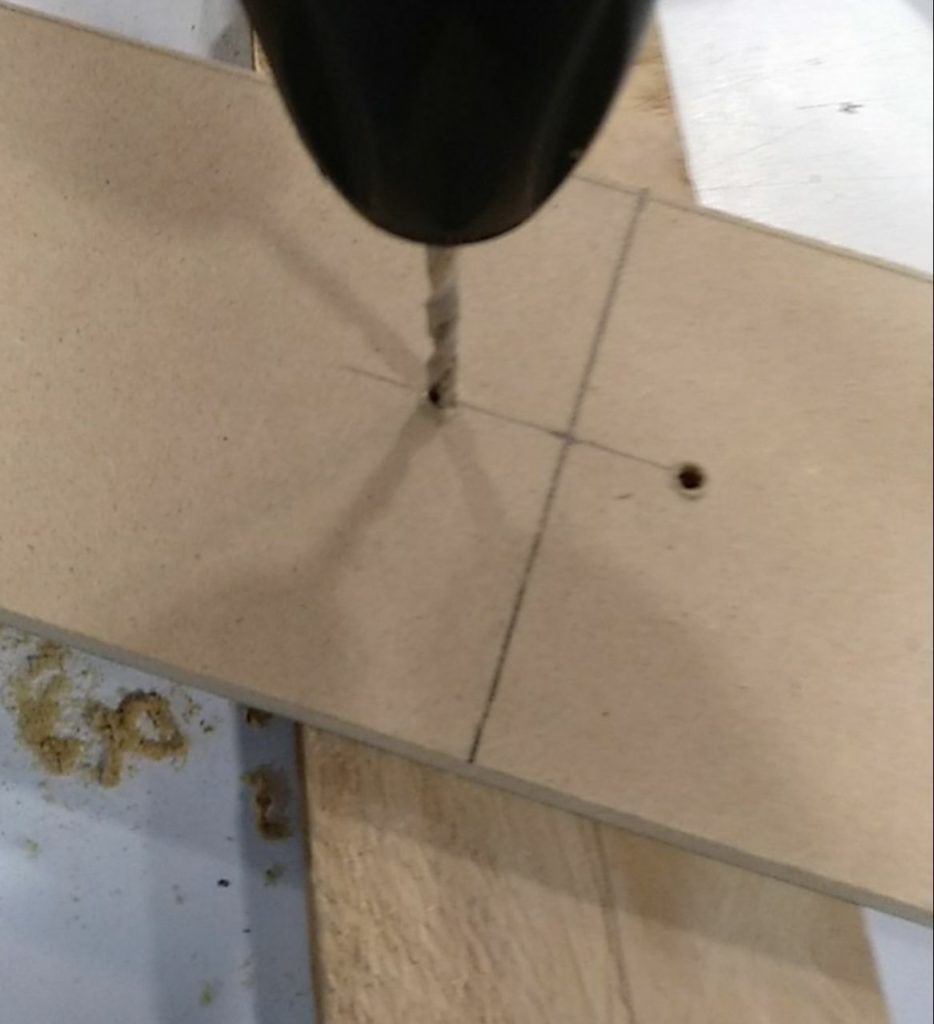
Drill 5mm holes for Zscrew holder
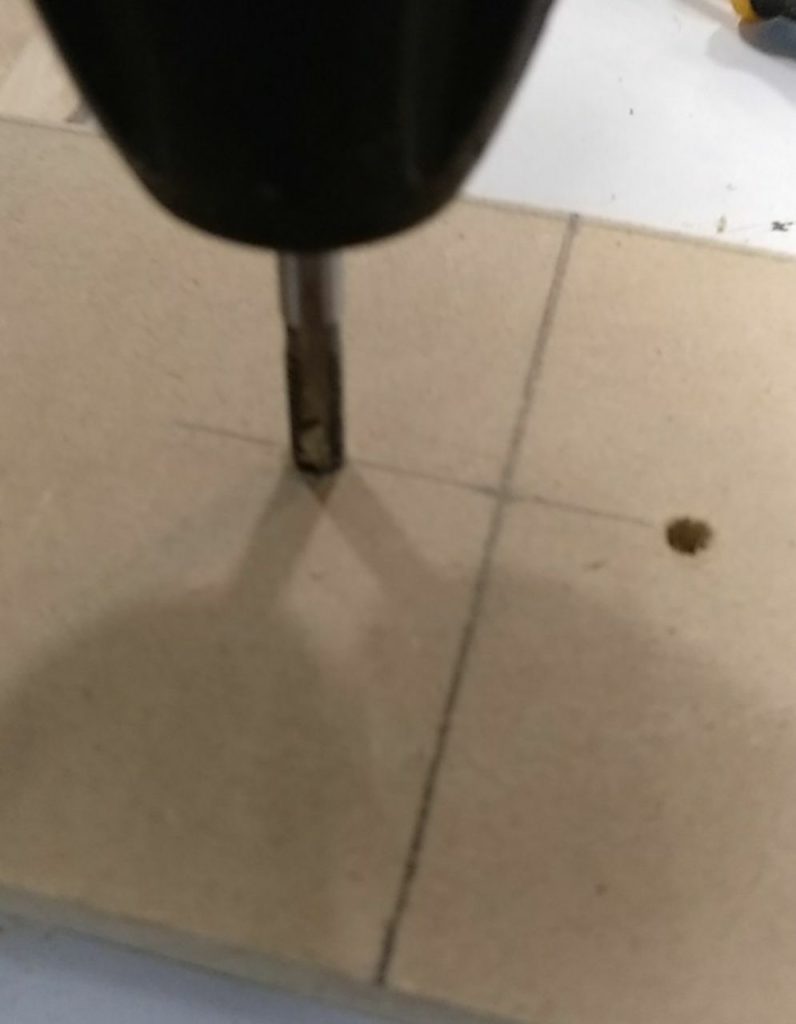
Tap M6 thread
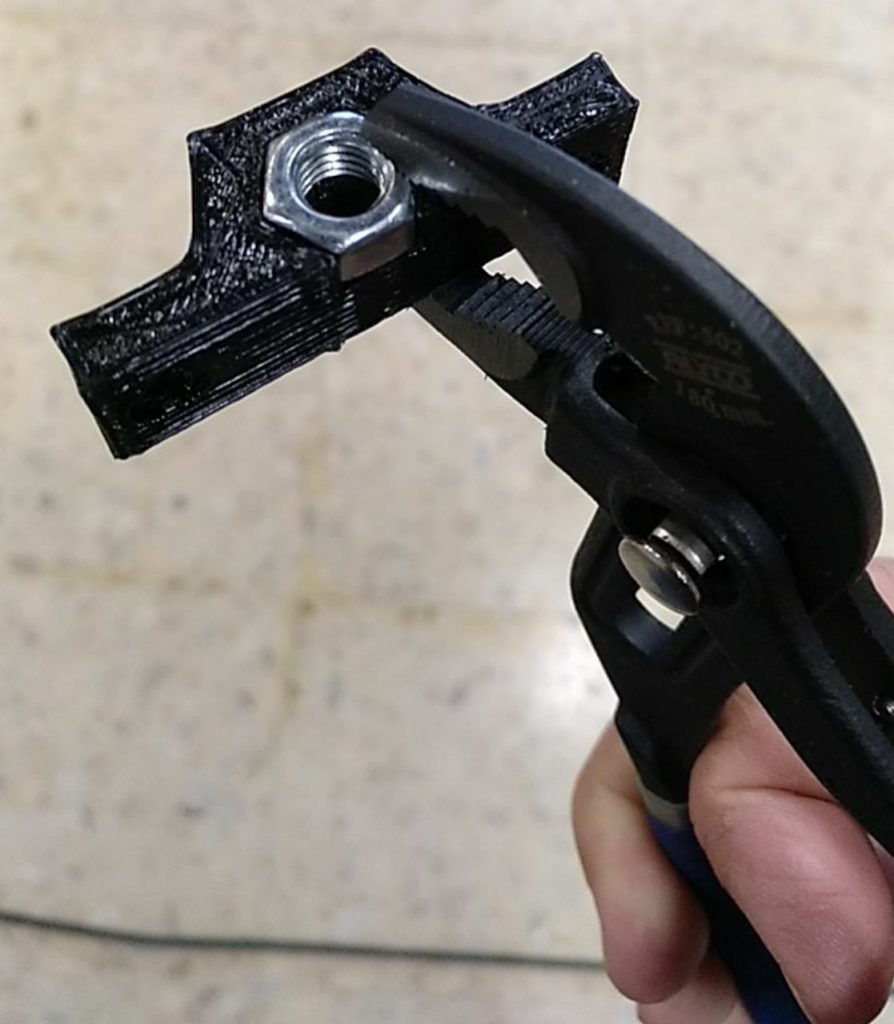
Insert theM8 nut
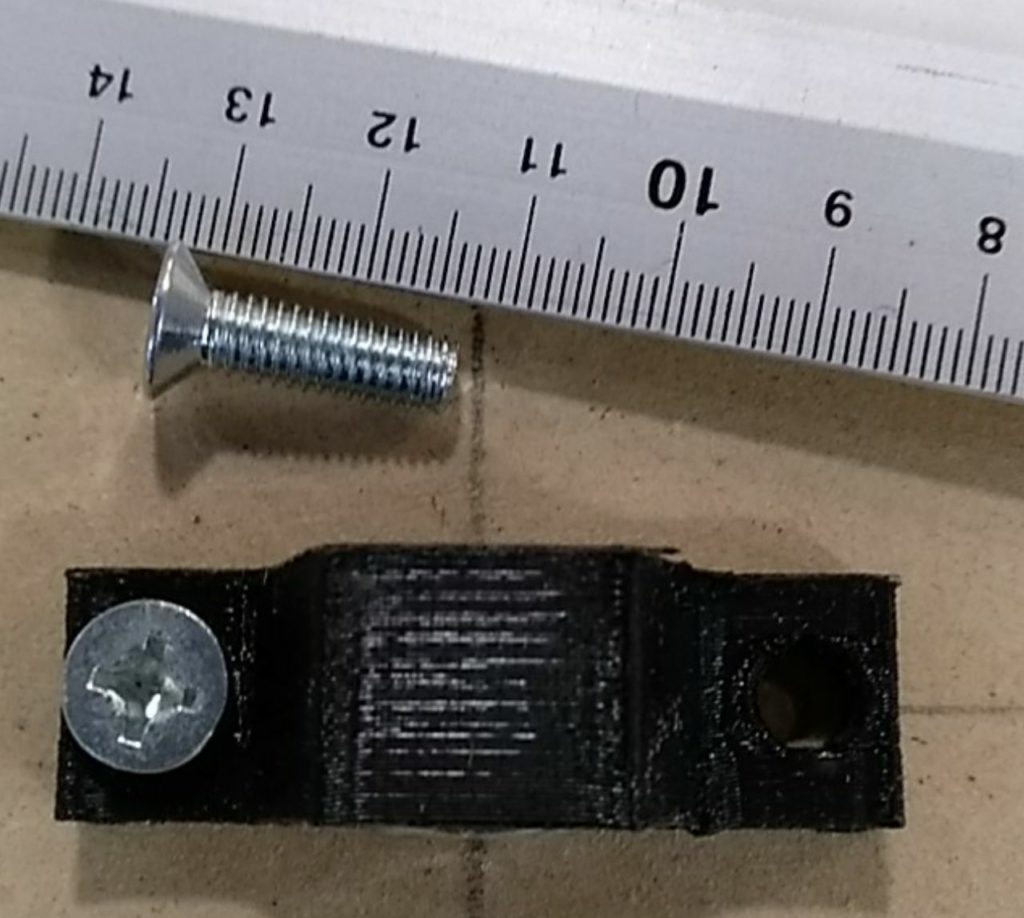
Fix it with 2 M6x16 screws
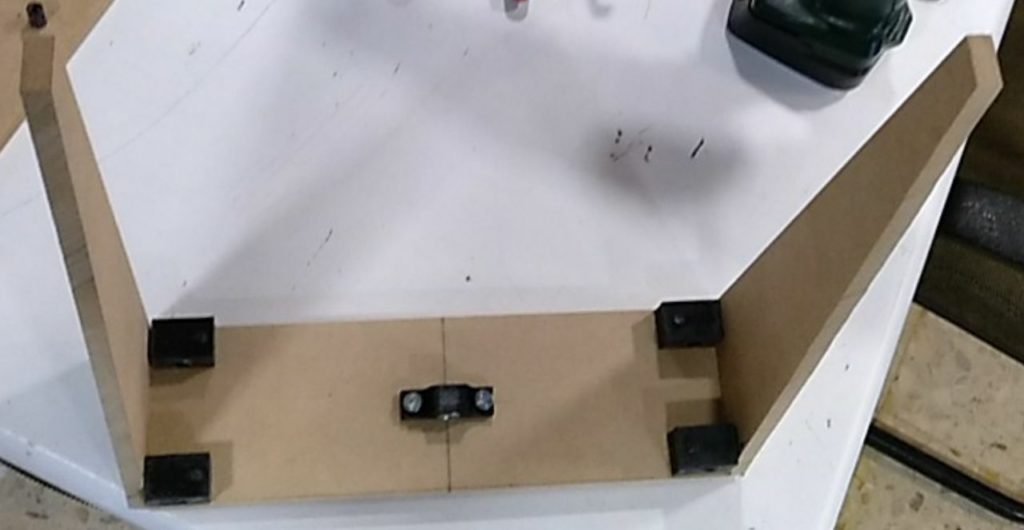
Z nut holder mounted
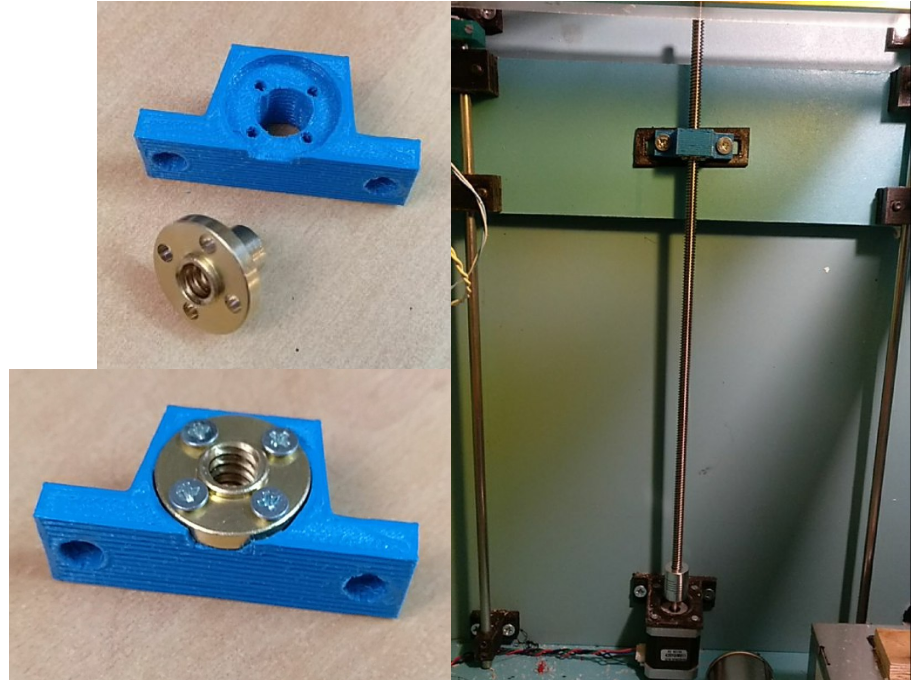
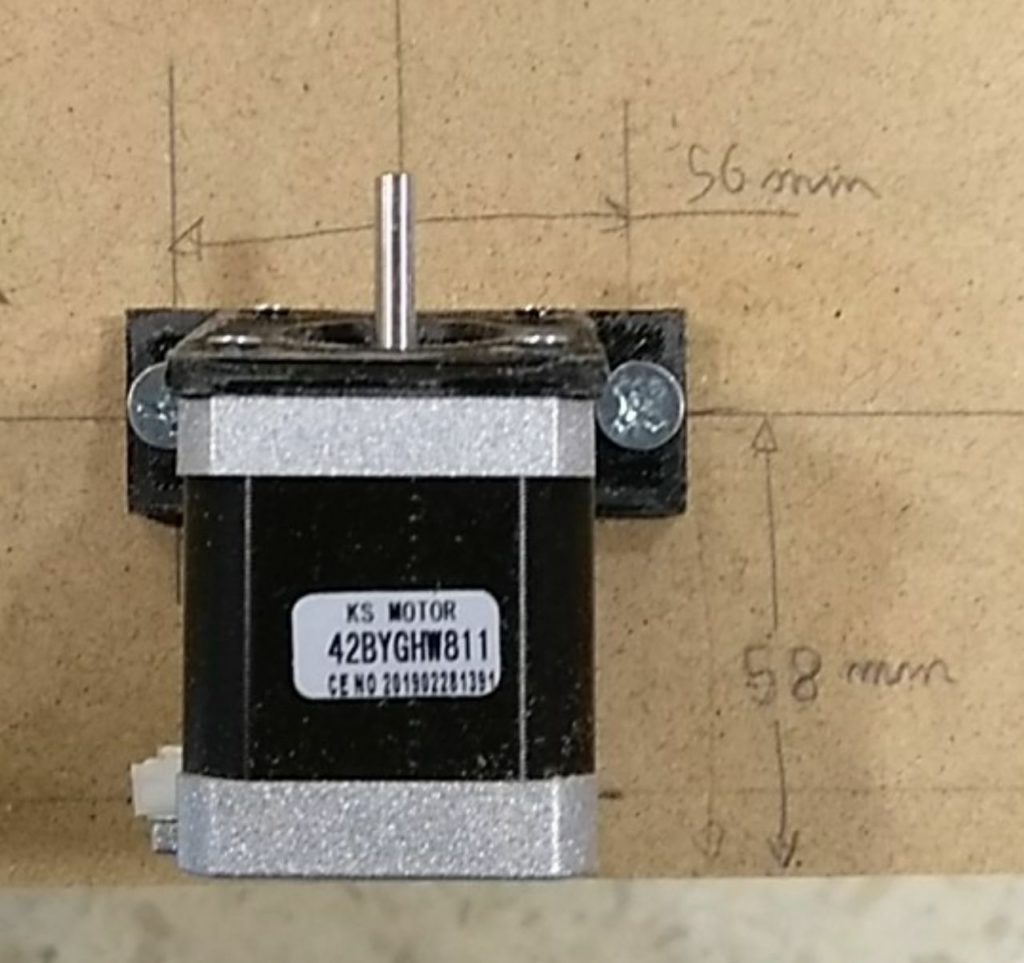
Mount the Z stepper holder with M6x16 screws
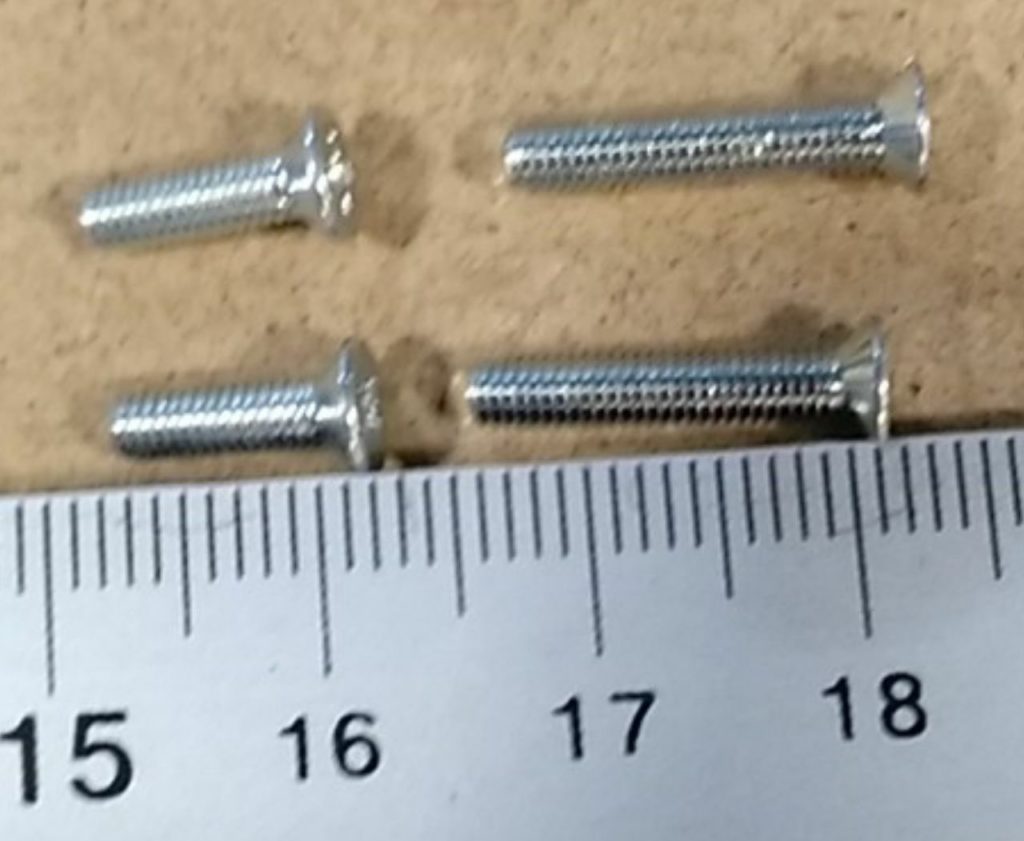
The stepper motor is mounted with 2 M3x8 and 2 M3x15 screws
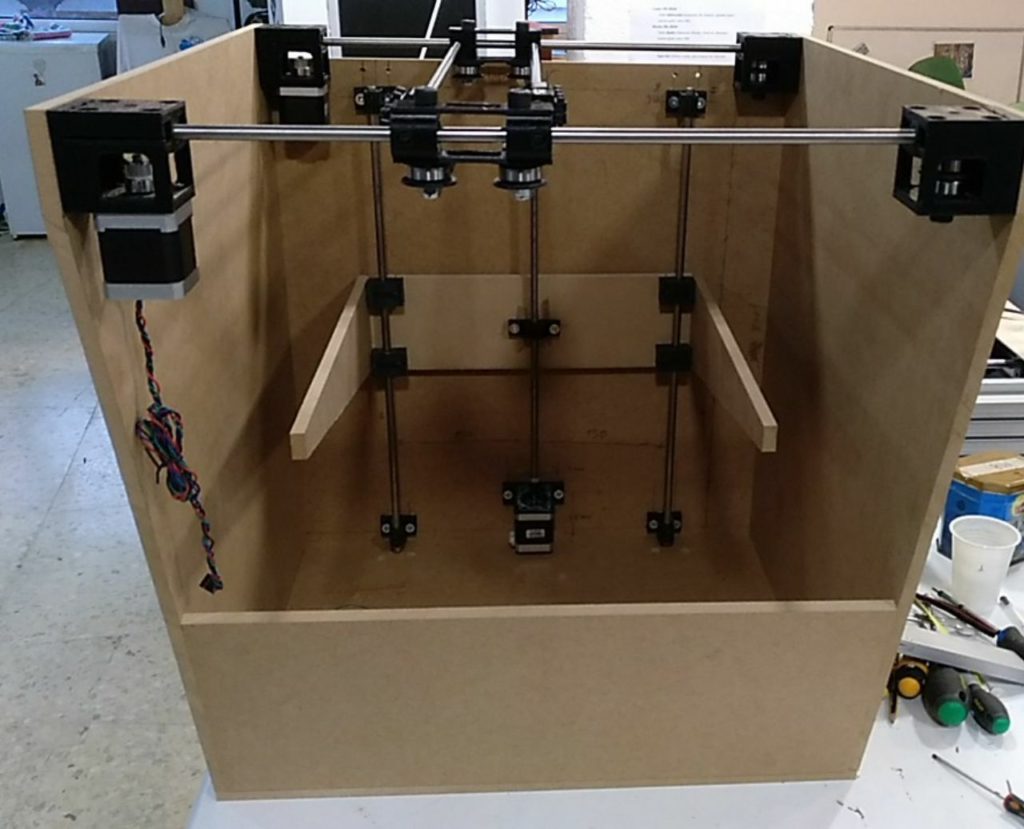
The bed and Z system mounted in the printer box
Mounting the pulleys of the XY system
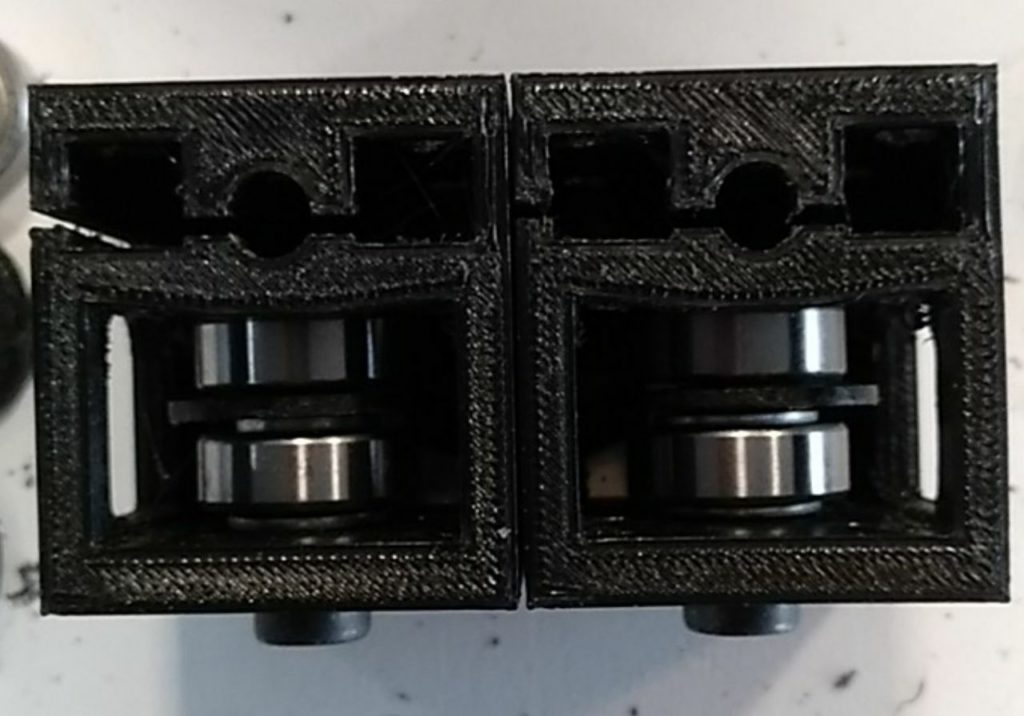
The 2 blocks holding the pulleys
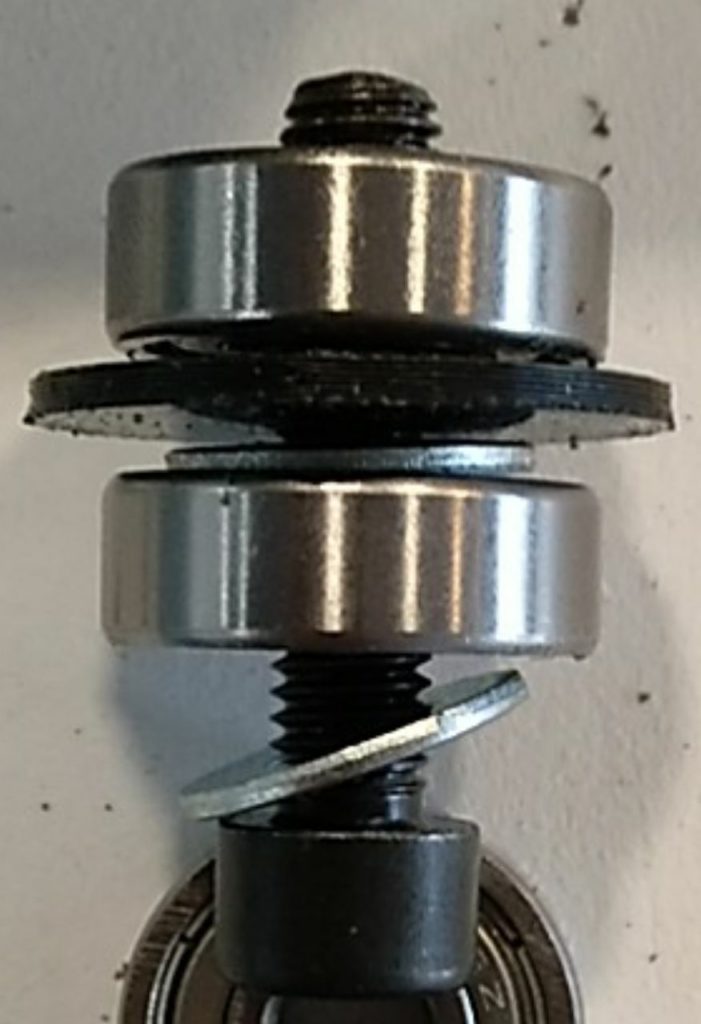
Place a washer, a bearing, another washer, the special 3Dprinted washer and another bearing in a M8x35 mm screw
Place the screws for fixing the corners
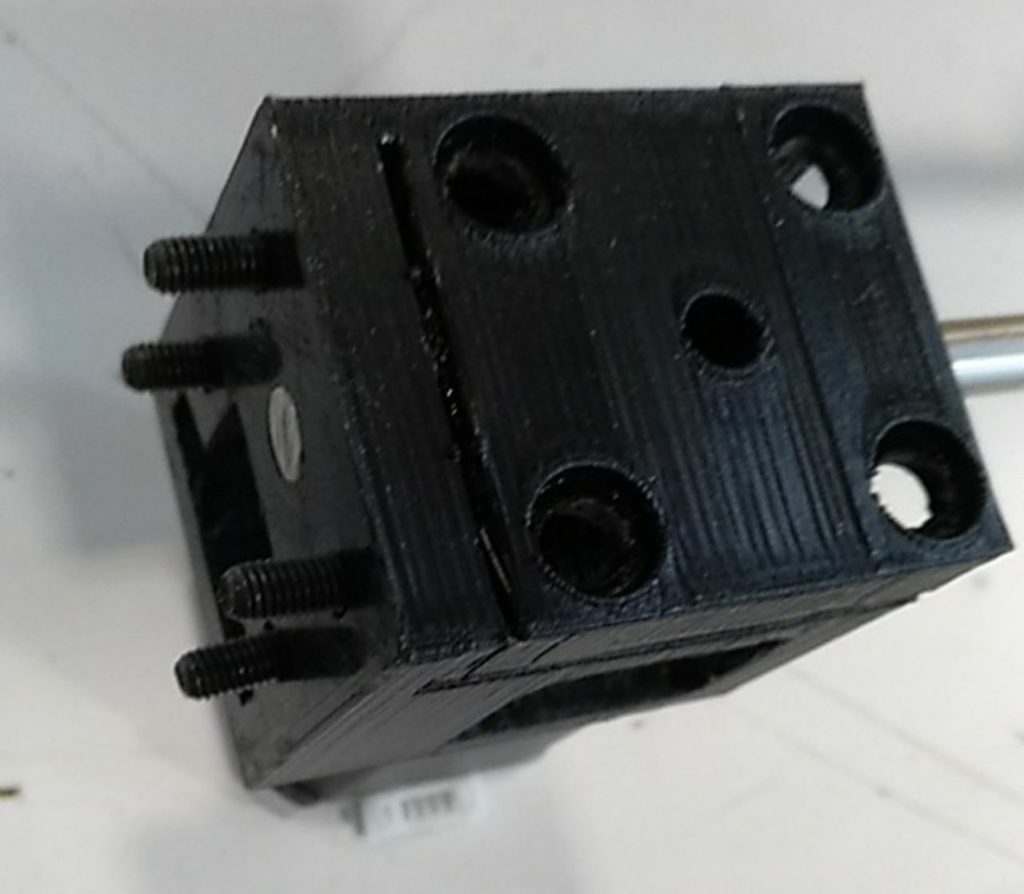
Place the 4 M5x16 screws 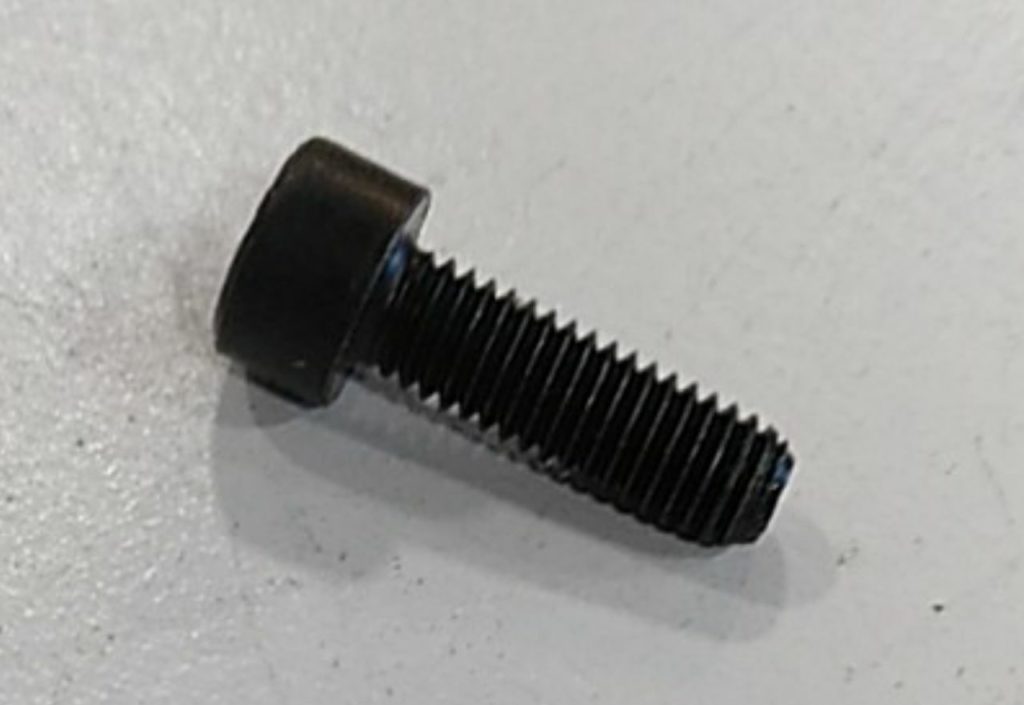
M5x16 hallen screw
Mount the steppers
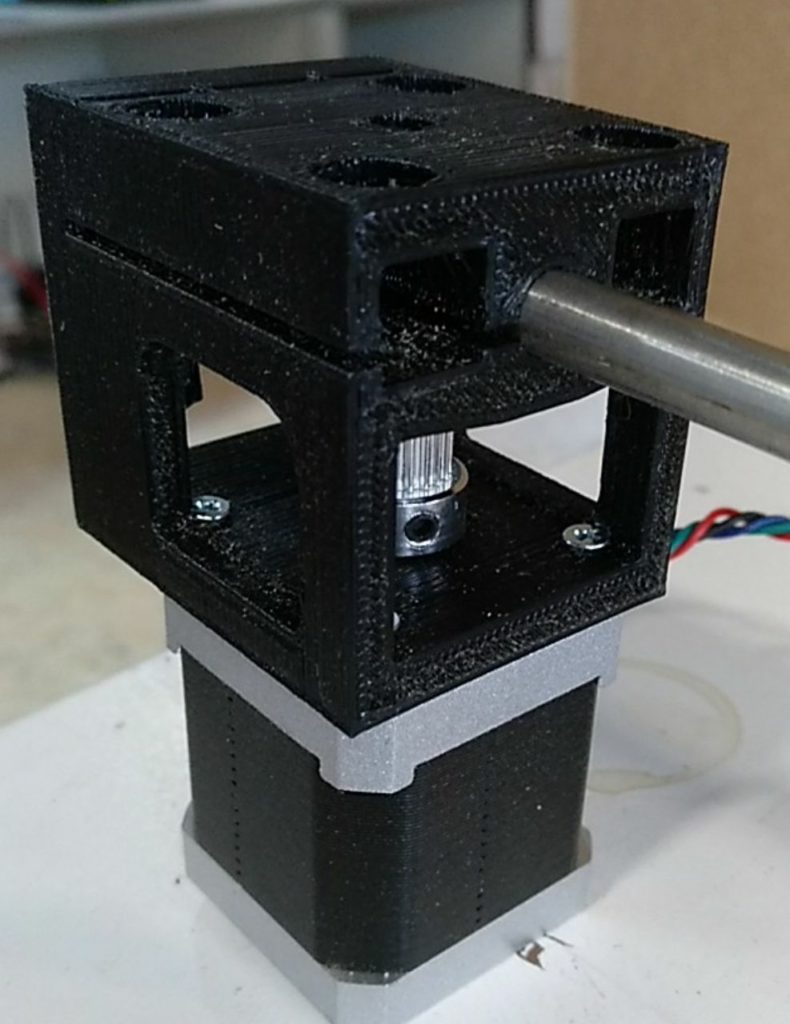
Fix the nema17 stepper with 4 M3x8mm screws. Don’t forget the pulley ! 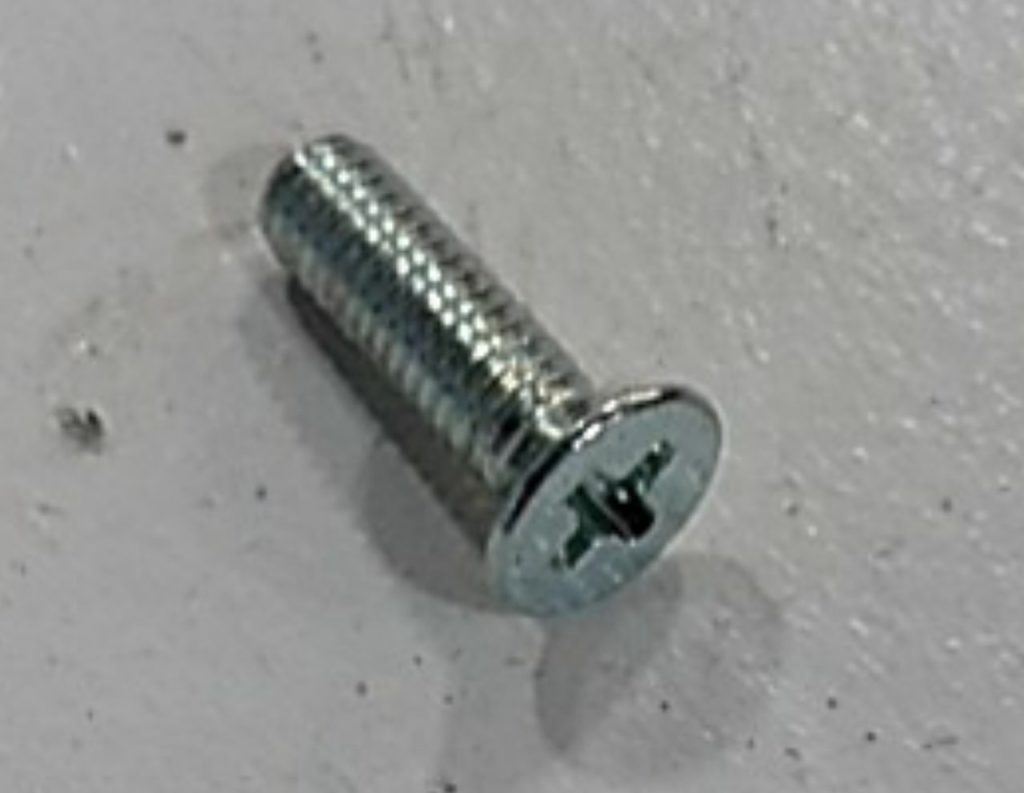
M3x8mm
Mount the whole XY system
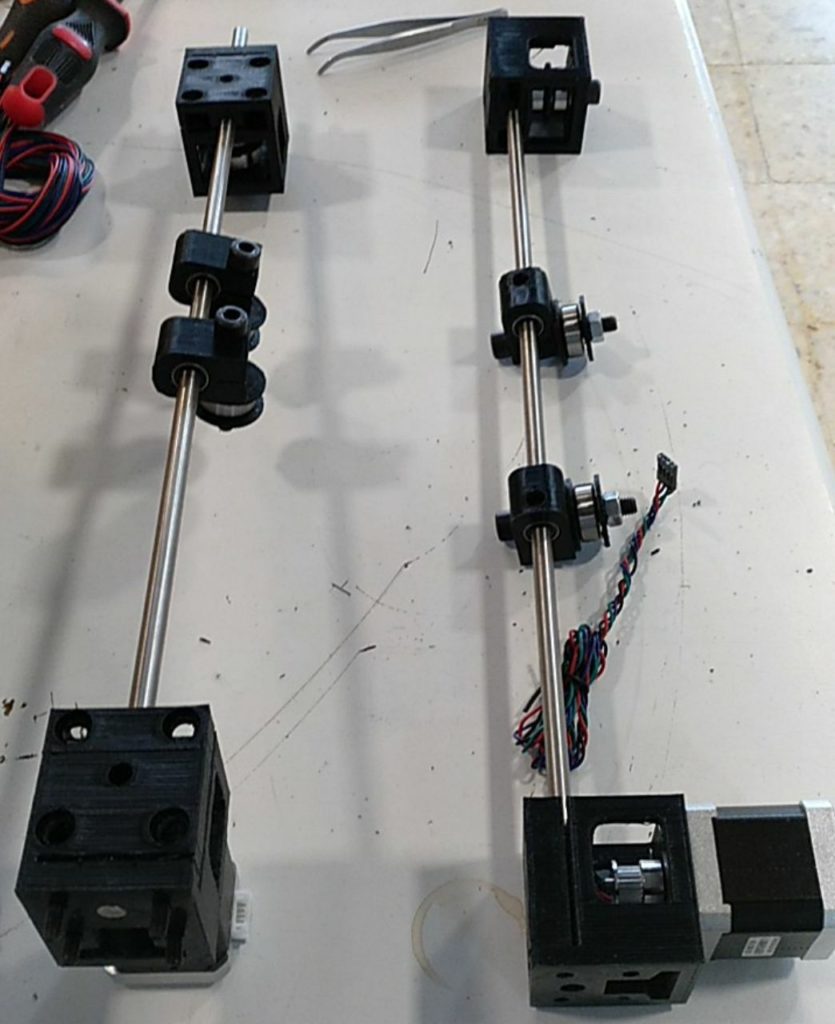
mount the 8mm bars and the Y sliders
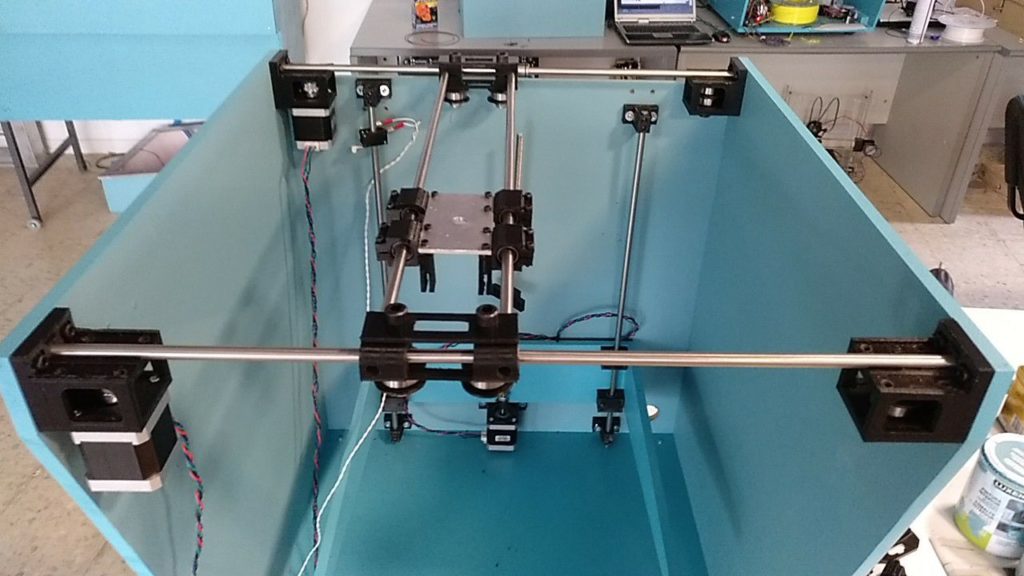
place the XY system
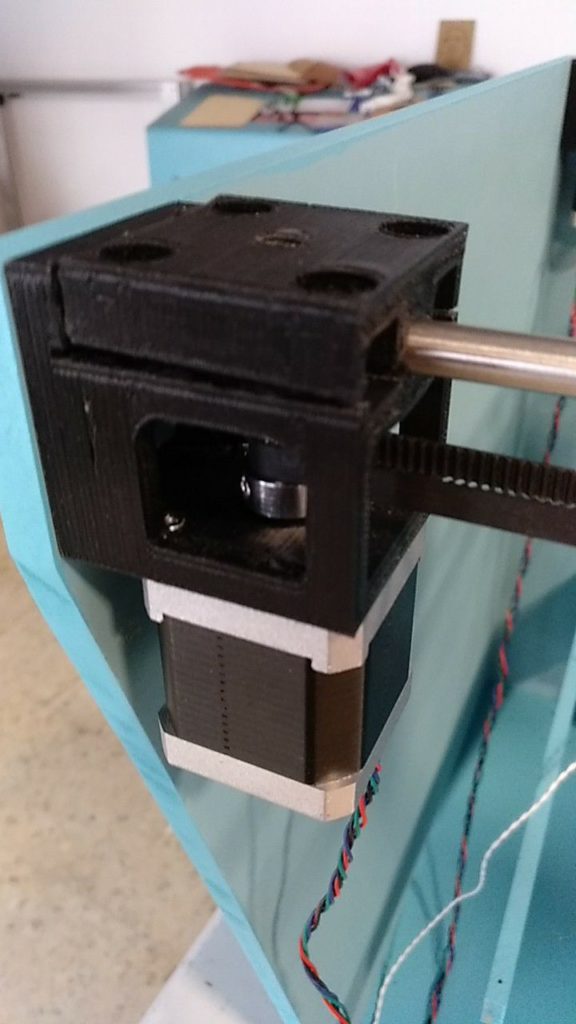
Place the taps
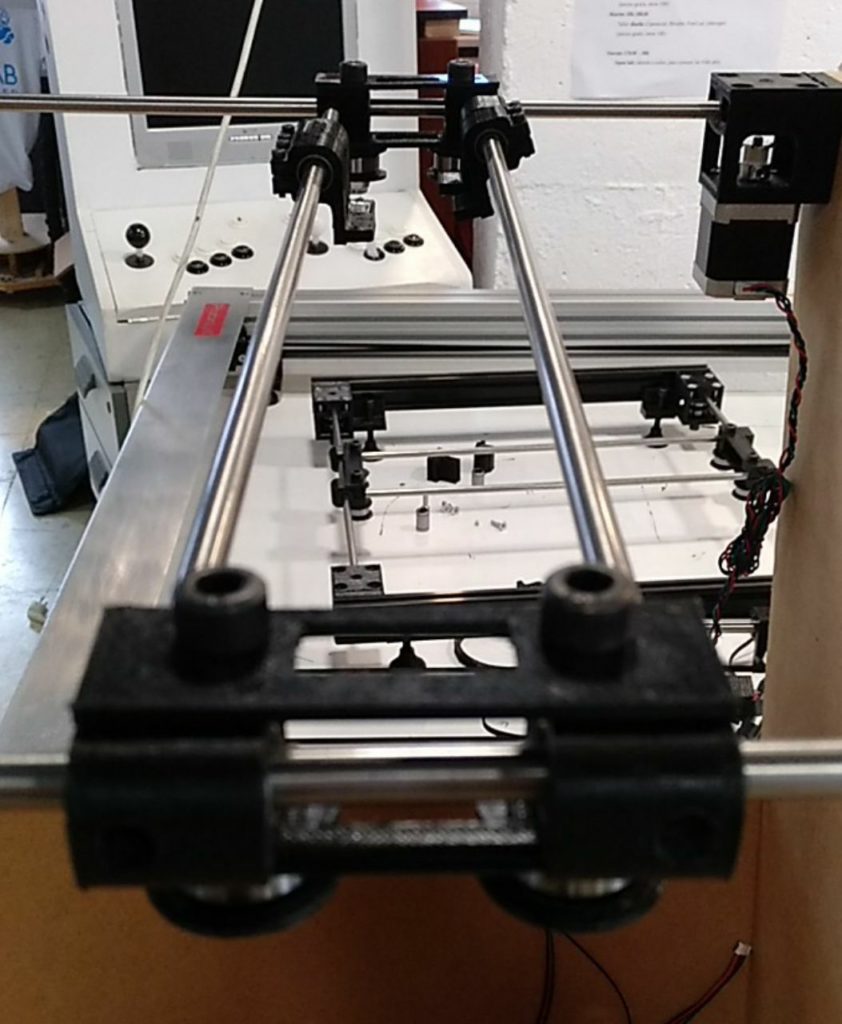
Mount the spacers of the X axis sliders
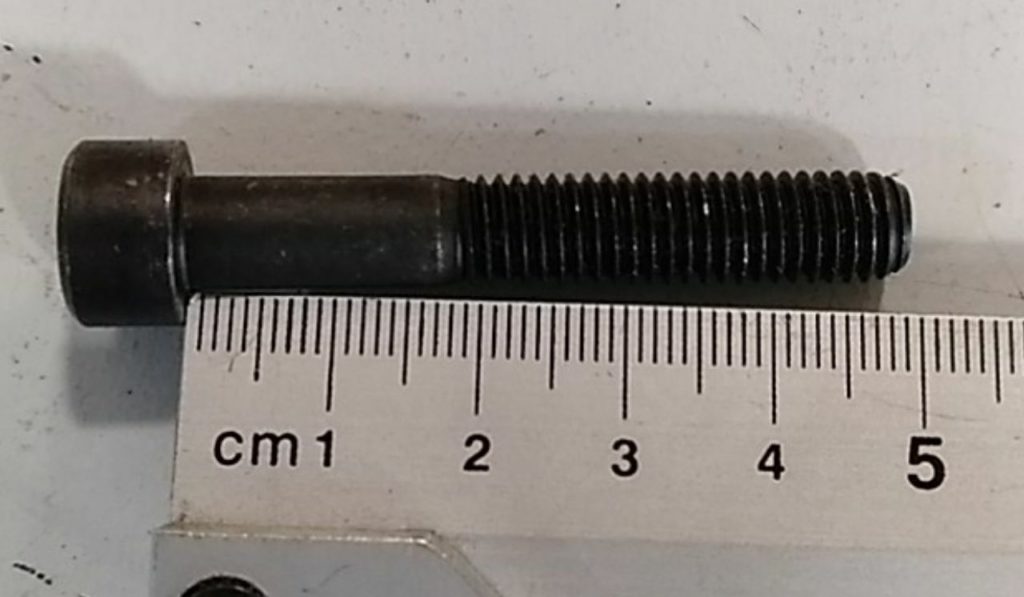
Use M8x50 screws
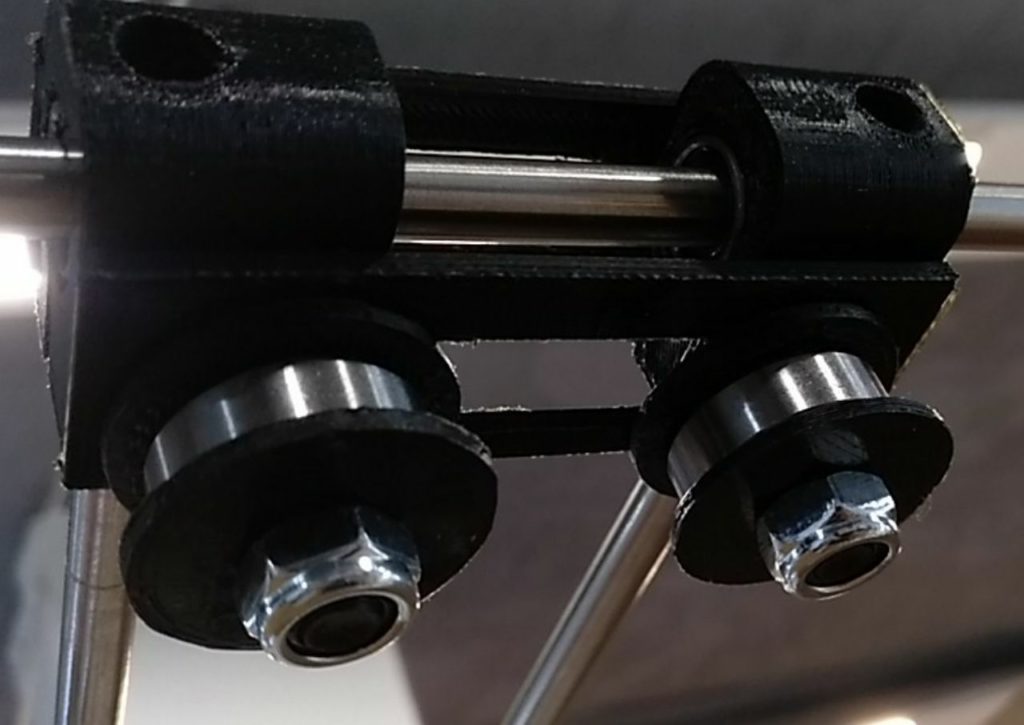
It’s better to use M8 «nylstop» nuts
Mount the head plate
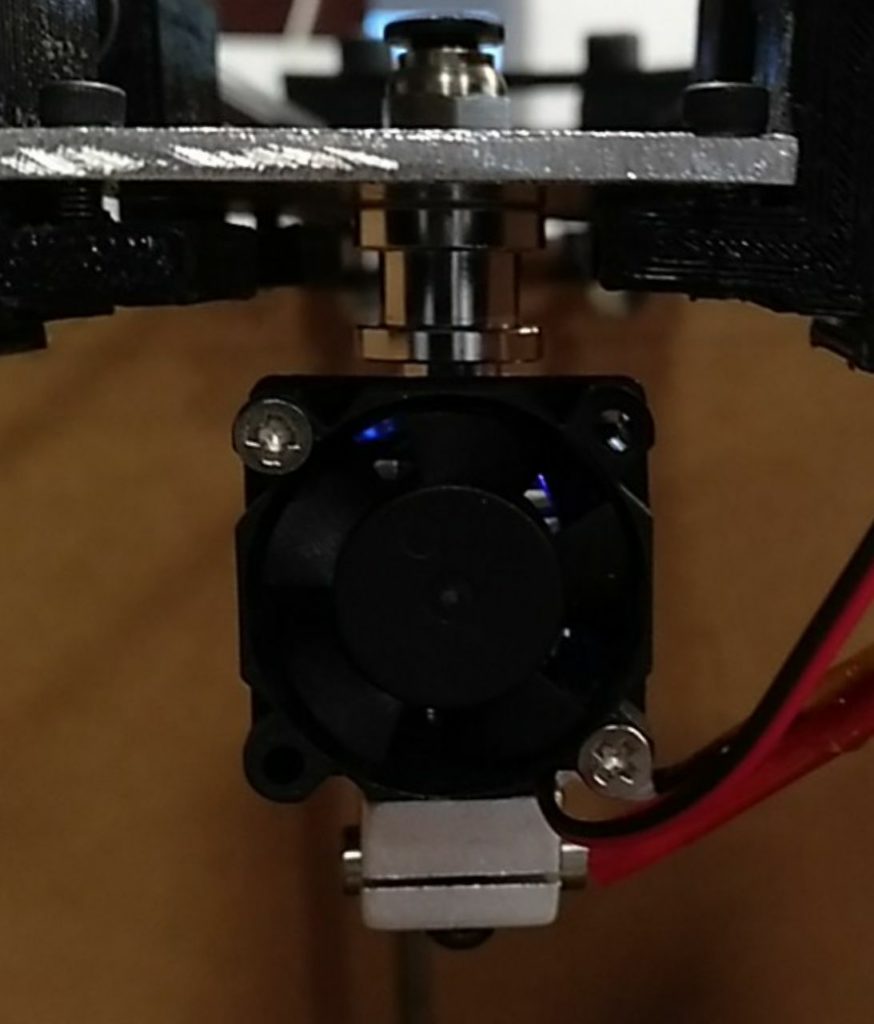
the Jhead extruder has 10mm screw for Teflon tube, conveniently used to fix on the plate 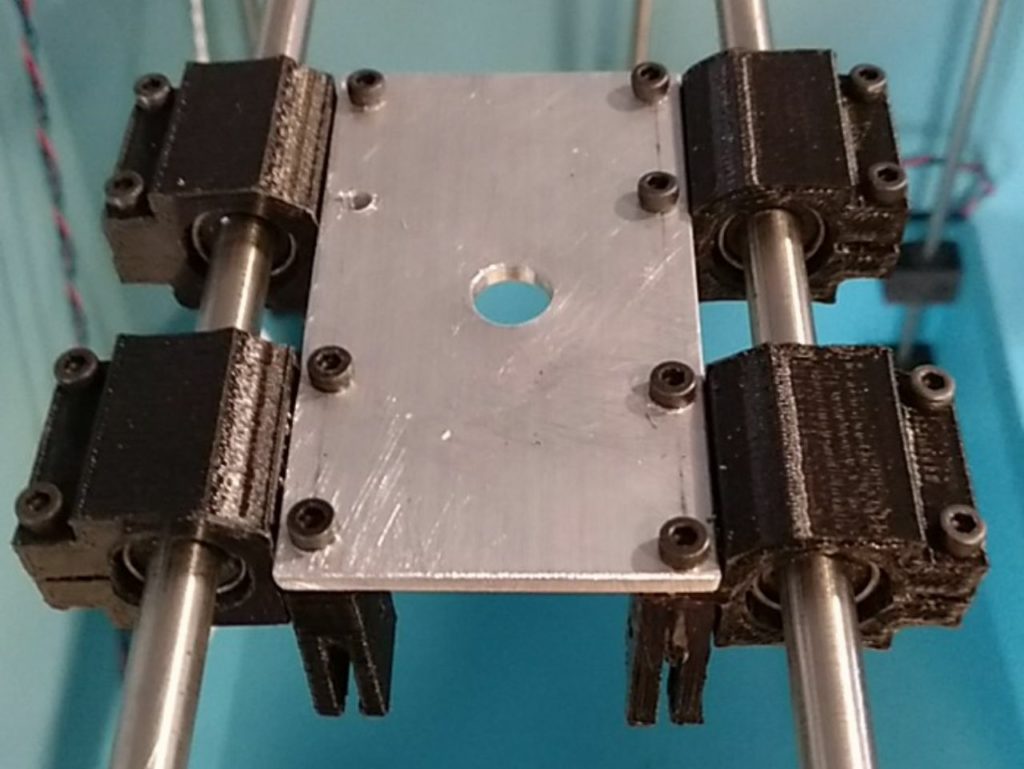
Screw the head plate with M3 screws
Belt grip
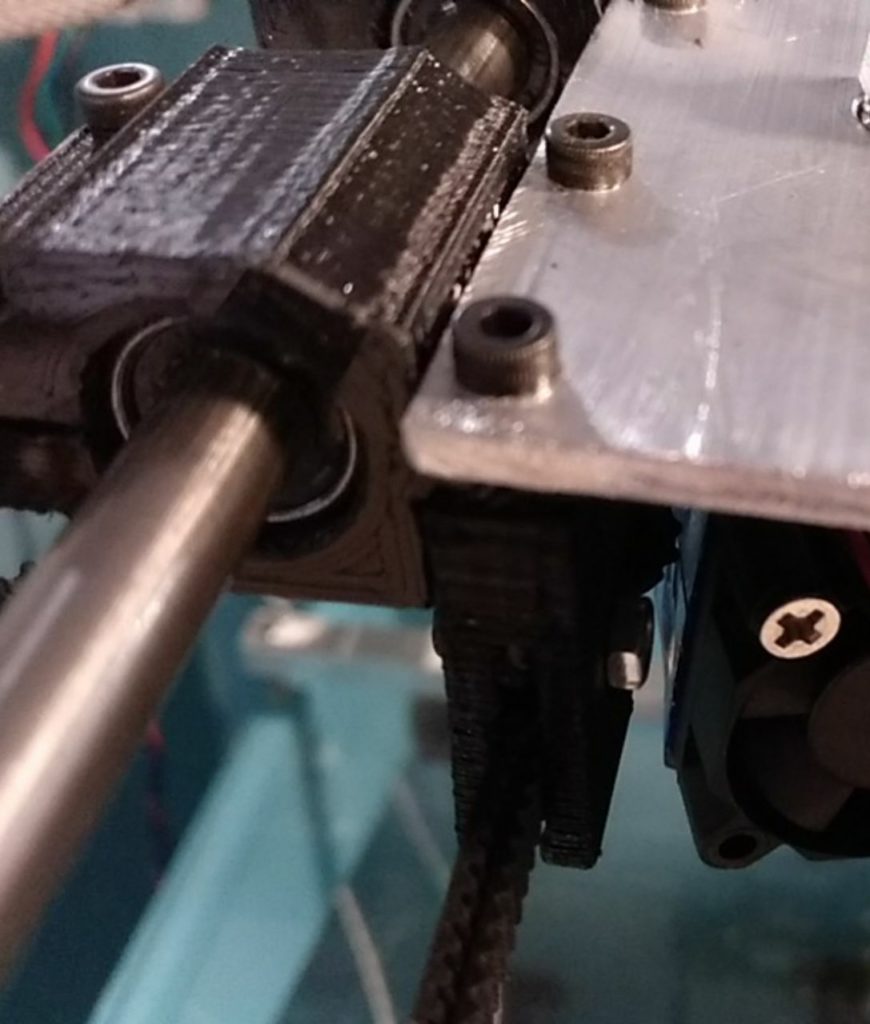
Mount the feet
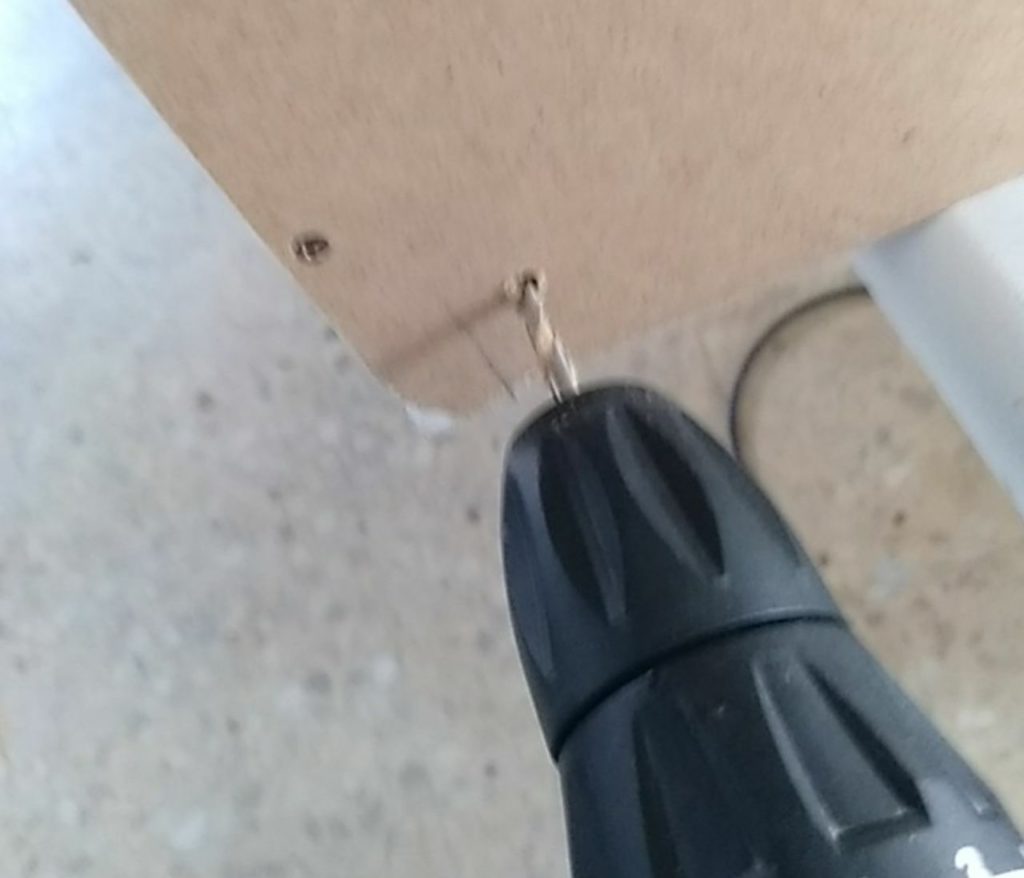
Drill 5mm hole and tap for M6 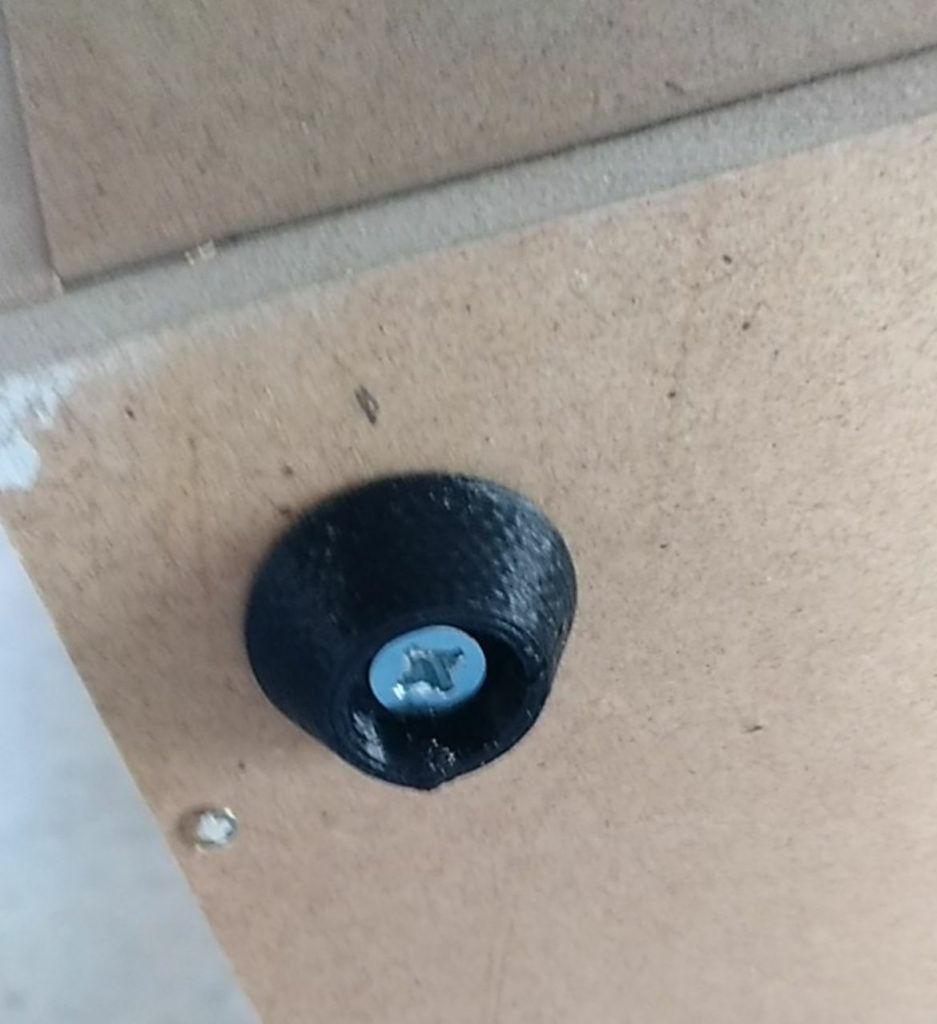
Use M6 x16 screw
Mount the bed
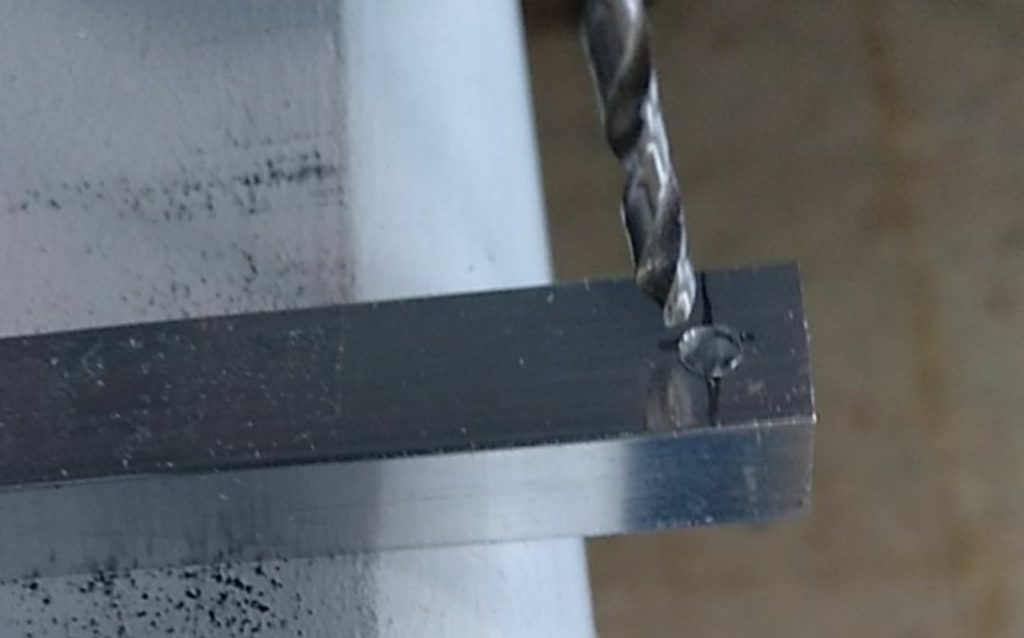
Drill 3.5mm hole in the aluminium profile 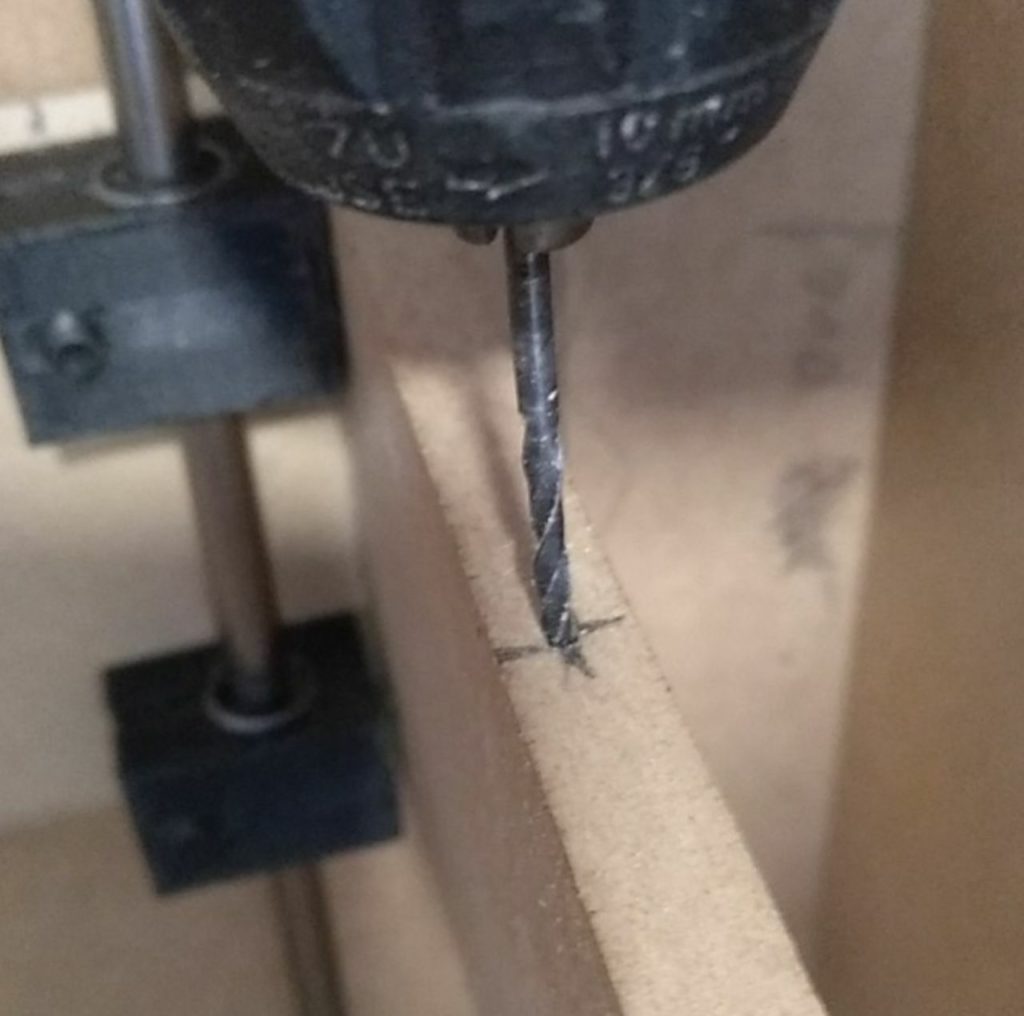
Drill 2.5mm hole in the bed square 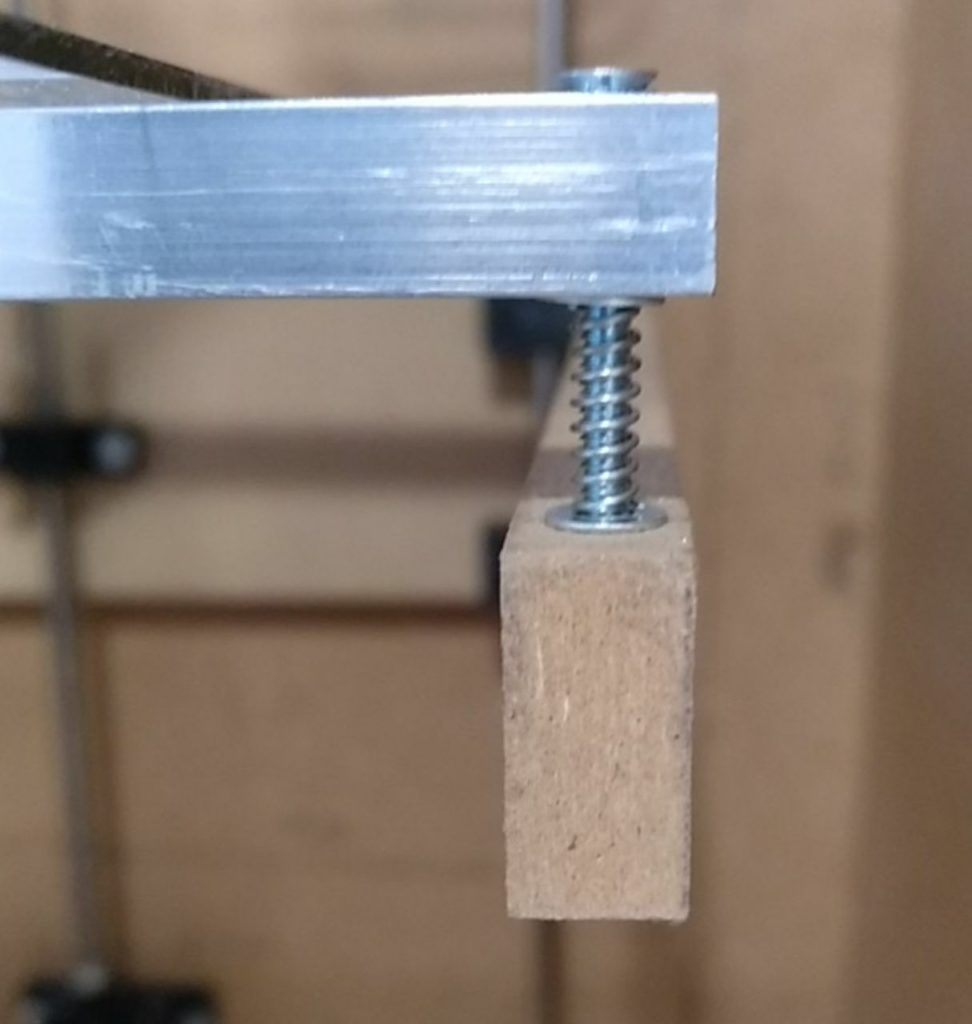
Mount a 3mm screw, washer, spring and another washer 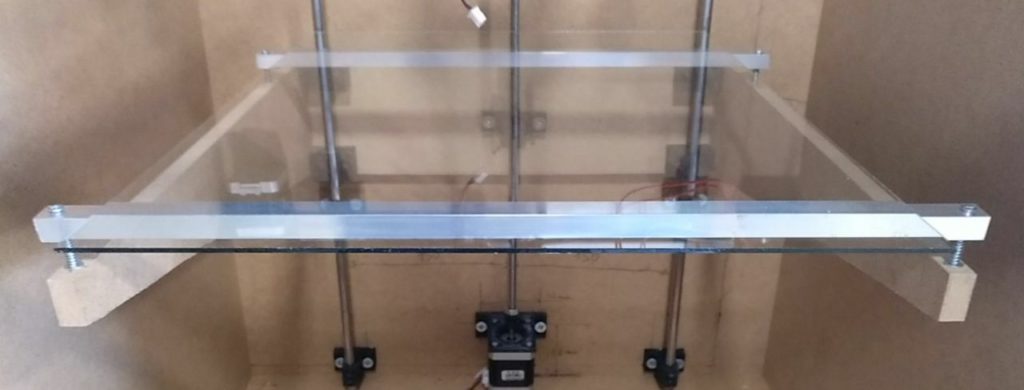
The glass bed can be glued with double-face tape
Mount the bowden extruder
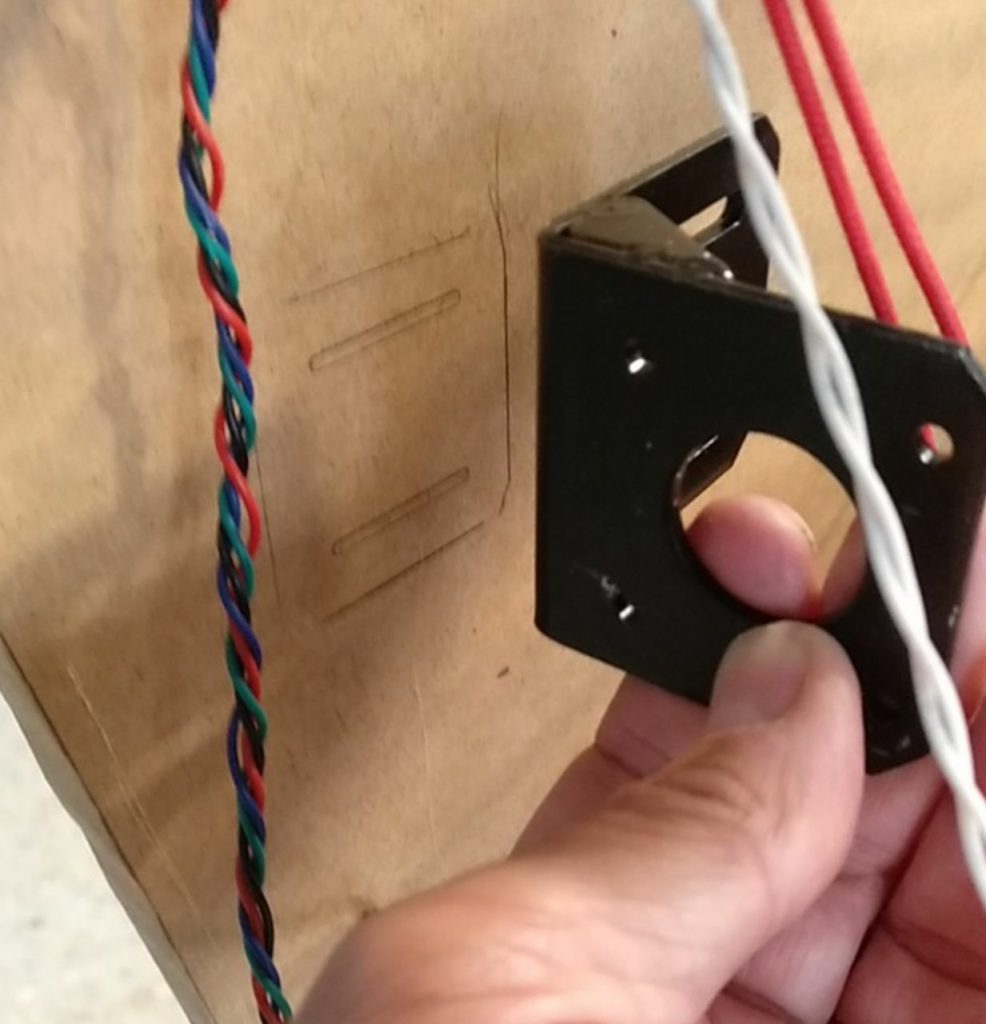
Mark the place 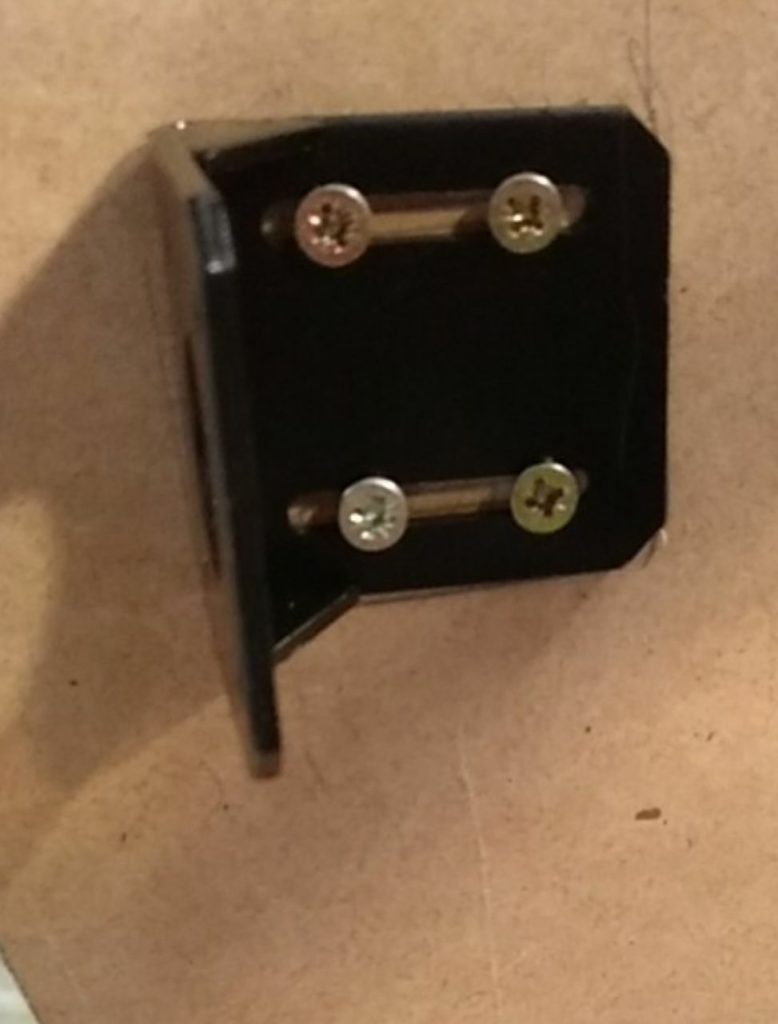
Fix with 4mm wood screws after drilling 2,5mm holes 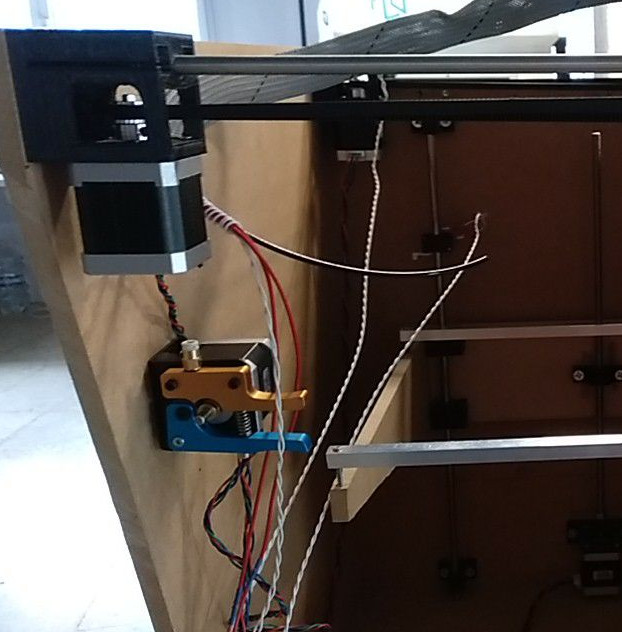
The extruder mounted
Place the screen and main switch
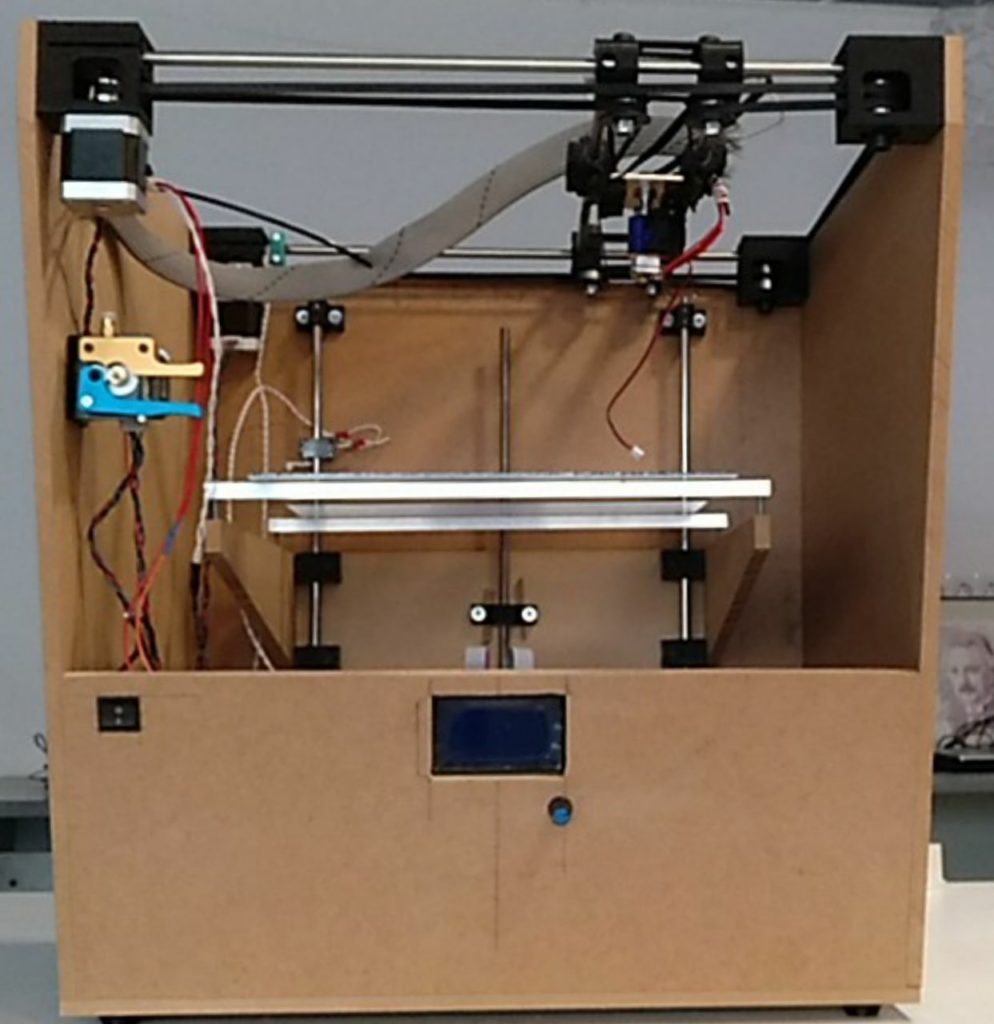
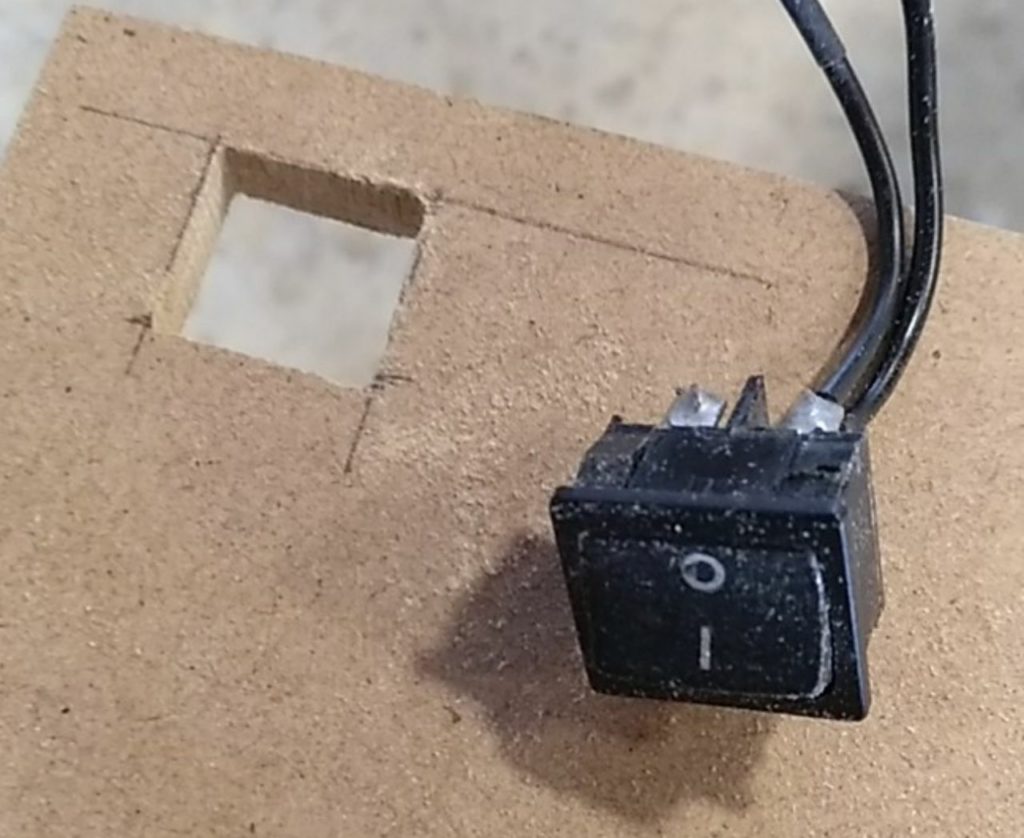
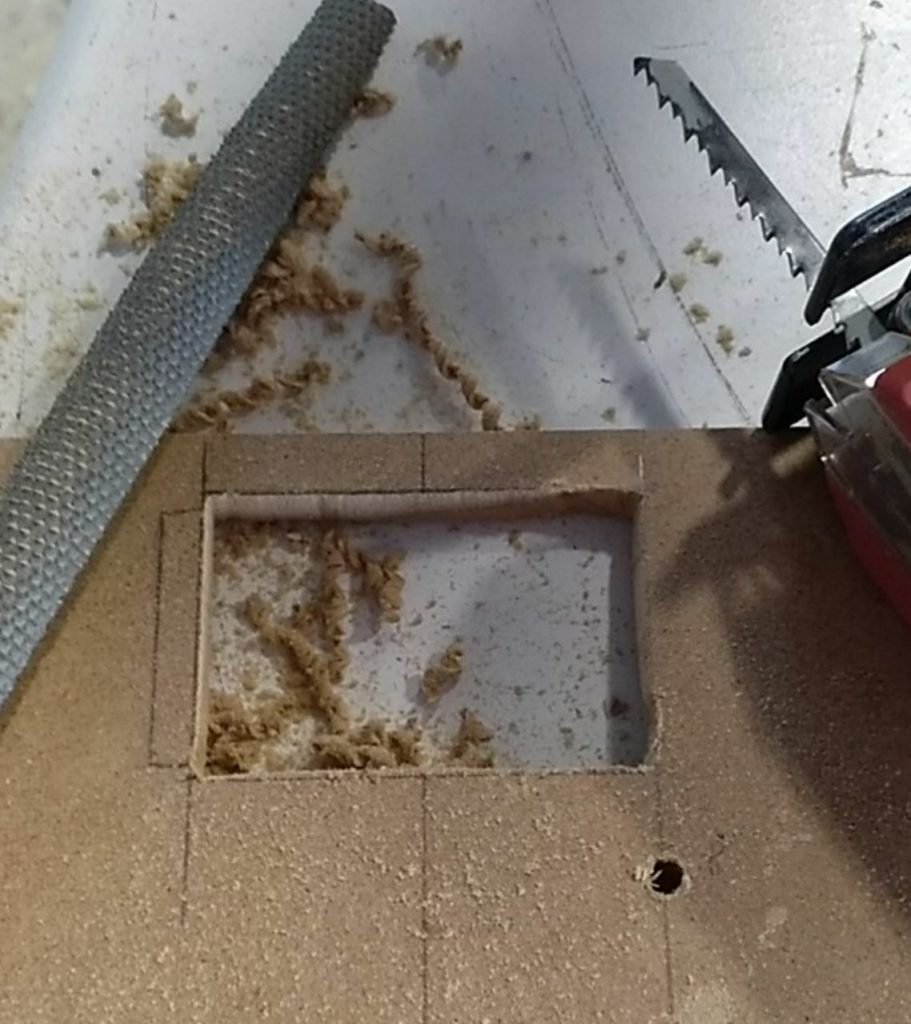
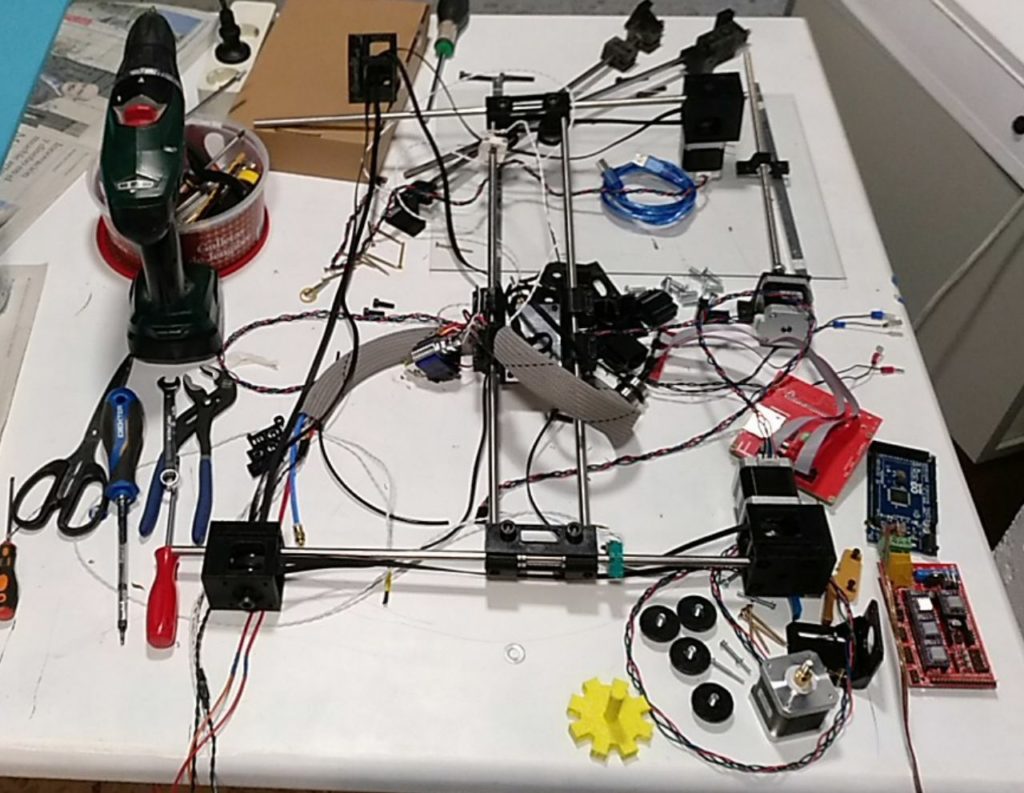
unmount everything for painting ! 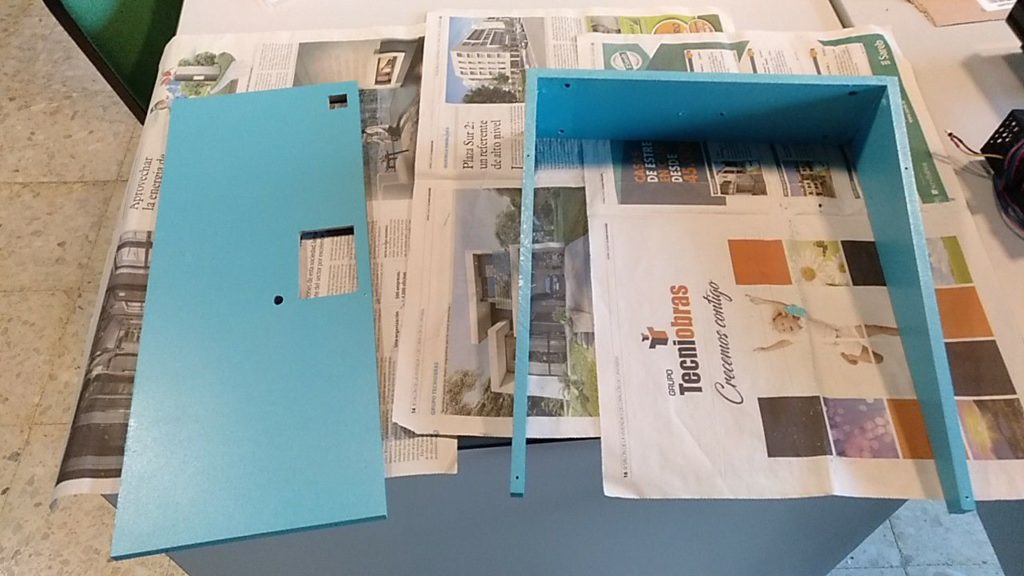
painting … 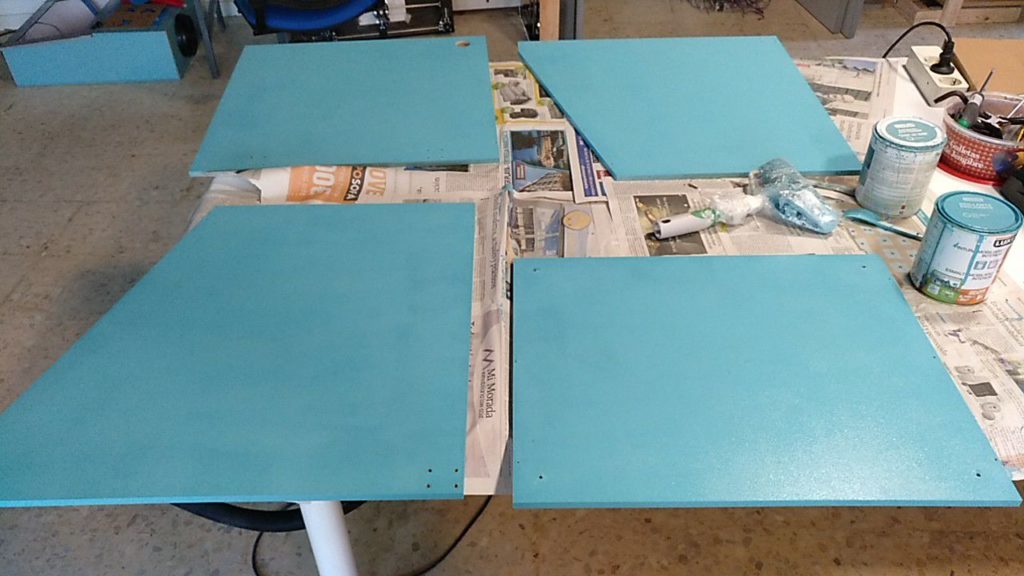
painting …
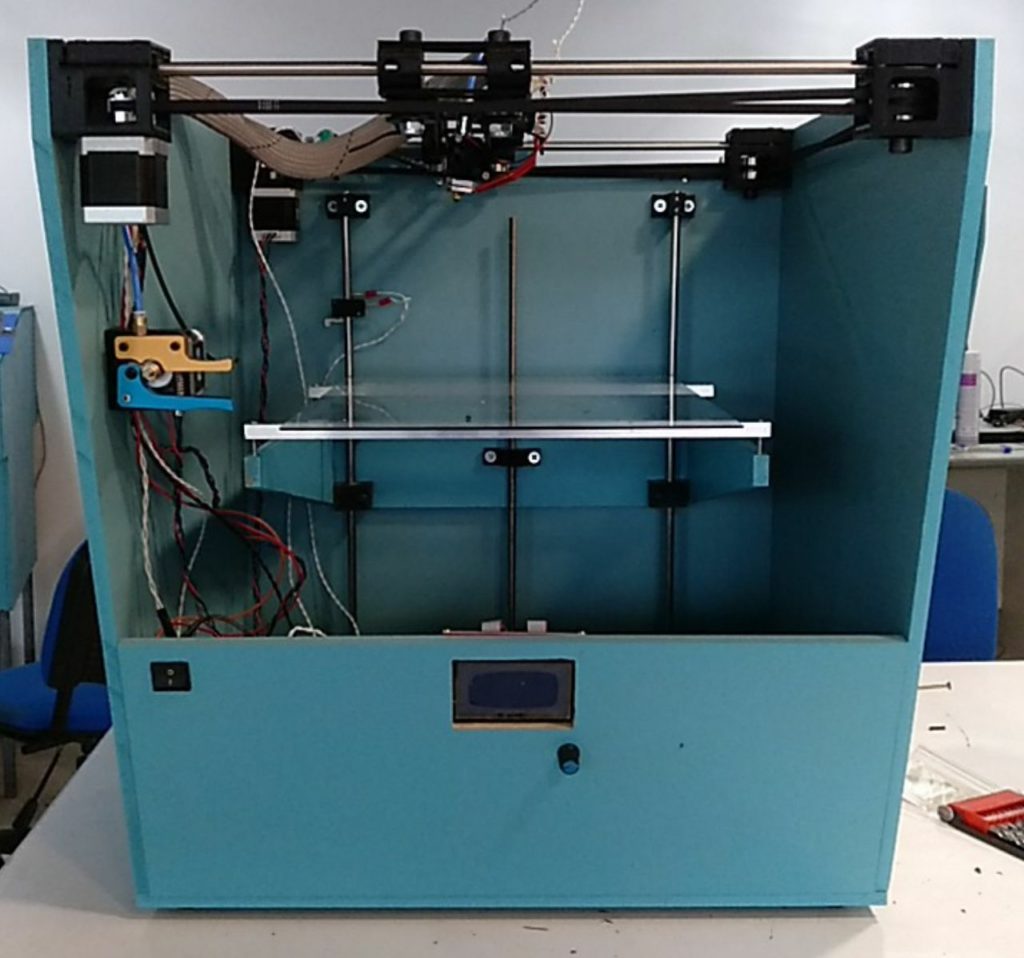
To be continued ….